|
|
Here are some of the aircraft in progress now, and recently completed. I will keep it updated as work continues. Be sure to scroll all the way through, as I don't always add new pictures starting at the top. We also appreciate any feedback, ideas, or comments. Updated with more pictures 08/22/2018. |
|
|
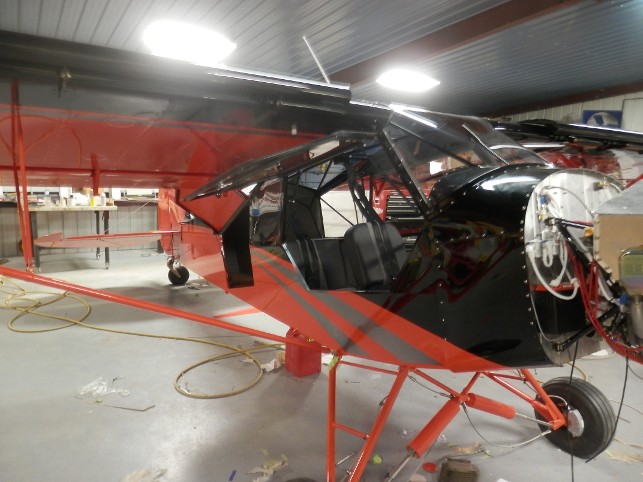
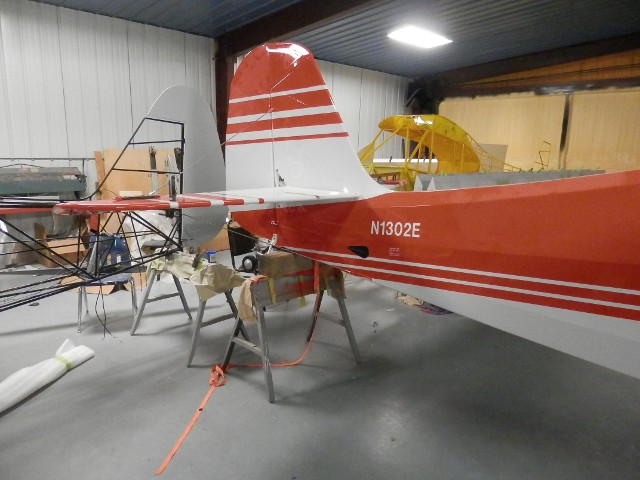
PA-18 Supercub being rebuilt for Mike Templeton Carthage MO. |
|
|
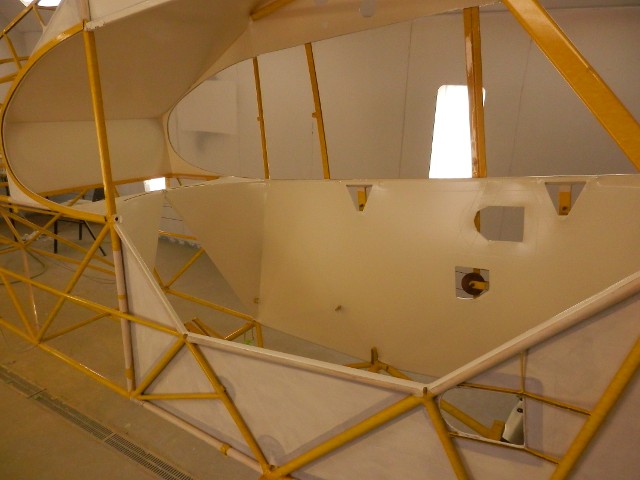
All new interior panels have been installed. |
|
|
Battery box installed. Comm and ELT antennas are inside the fuselage. |
|
|
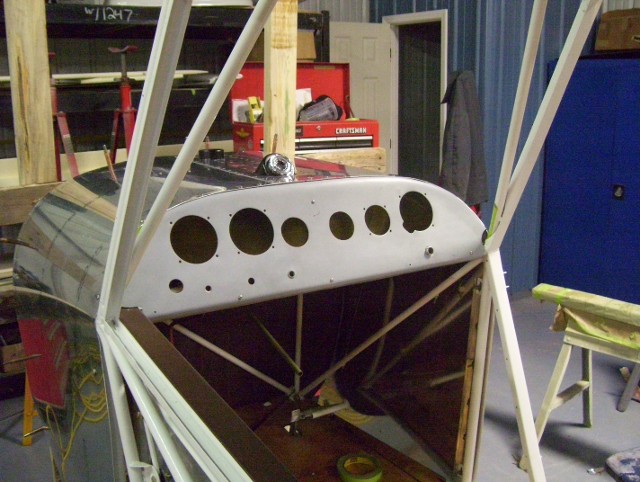
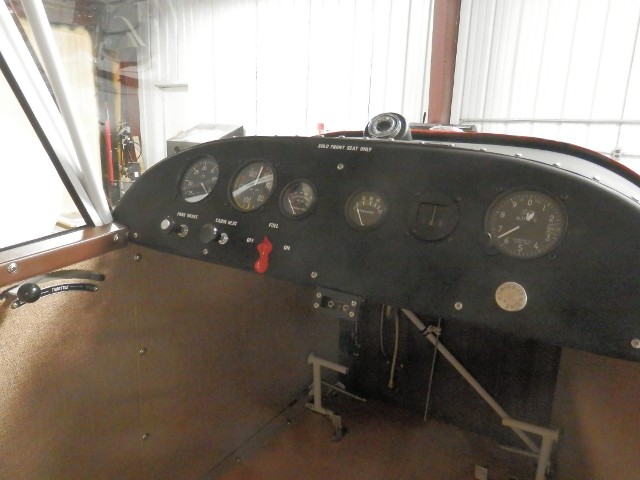
Flap cable intalled. Panel is ready to be cut for instruments. |
|
|
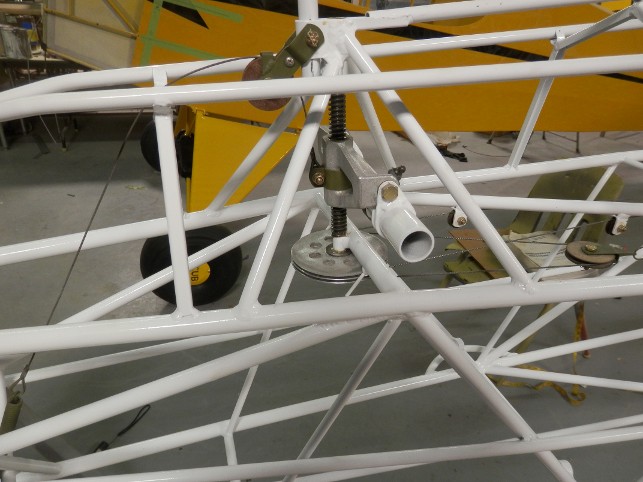
Trim system refurbished and installed. |
|
|
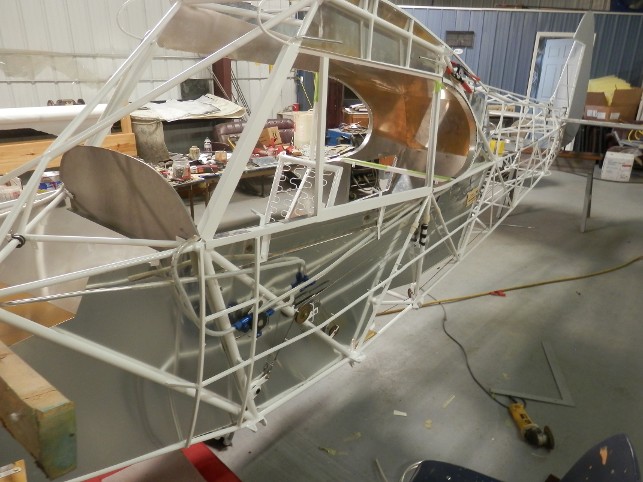
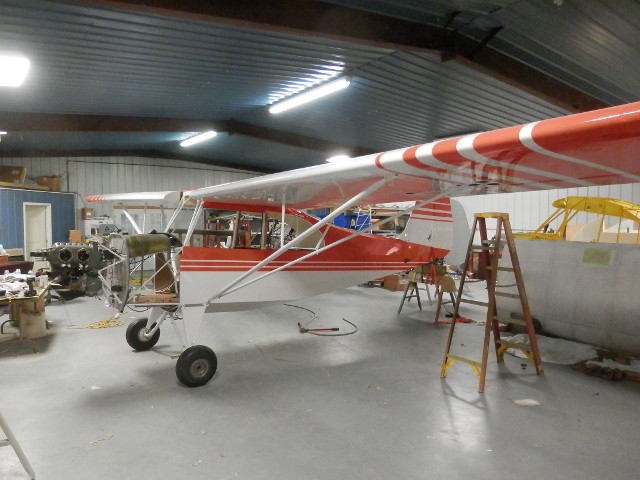
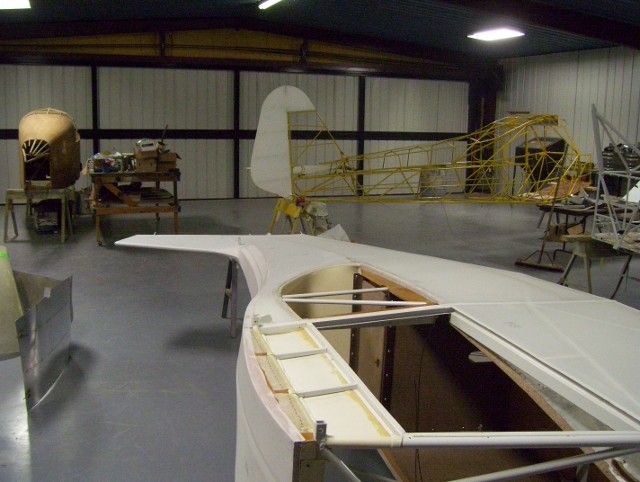
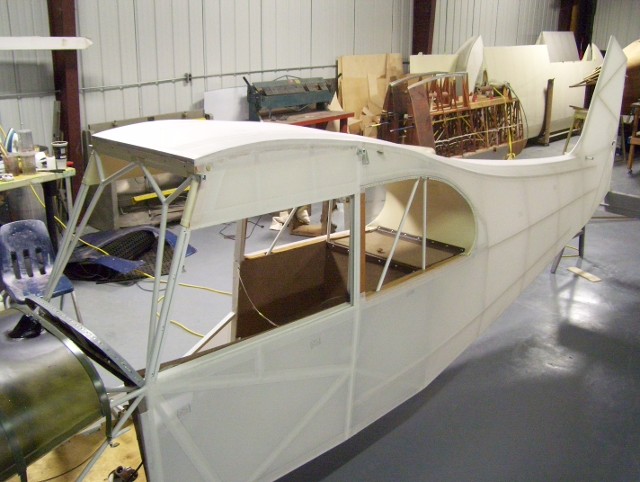
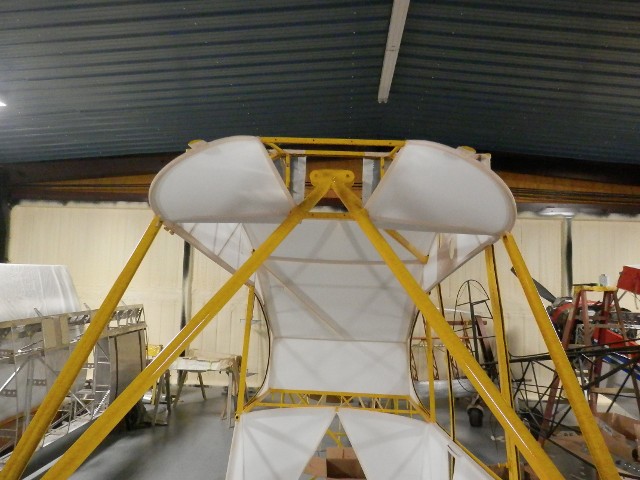
It's starting to come together. |
|
|
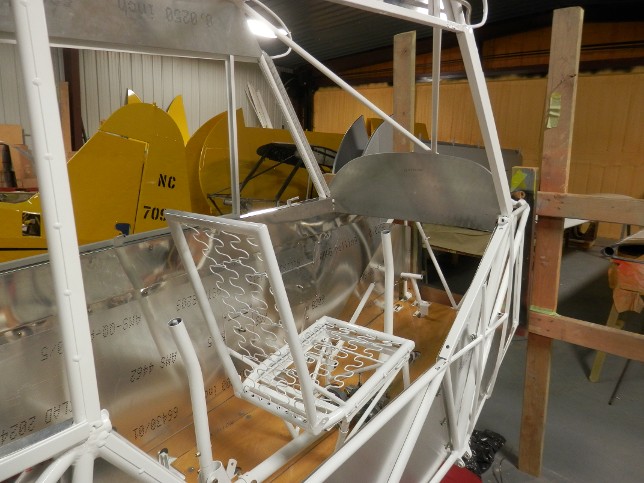
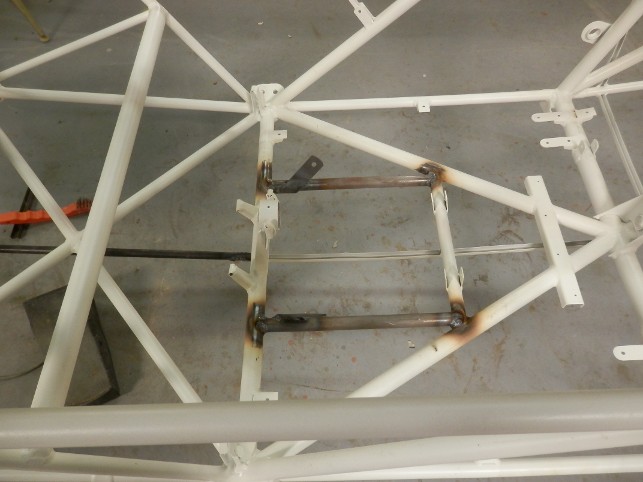
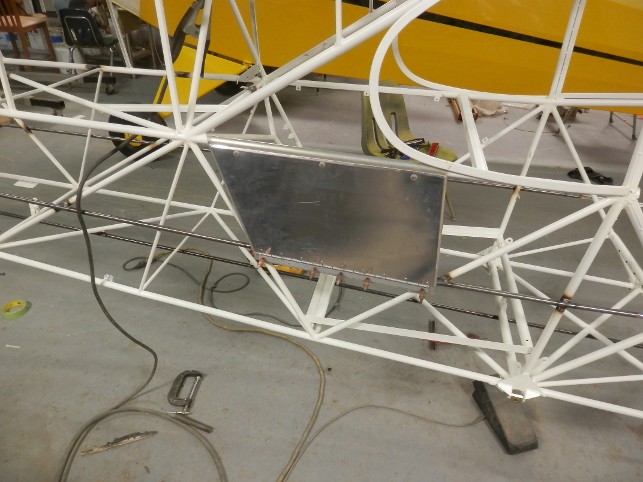
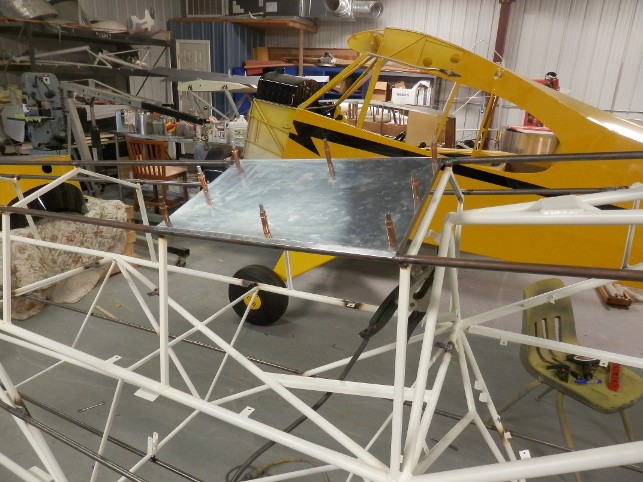
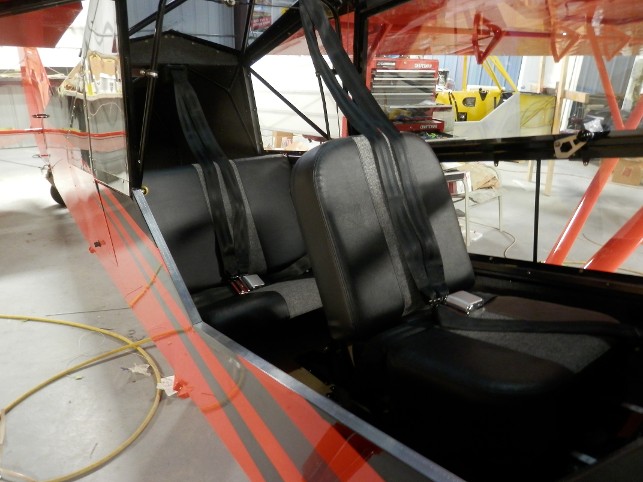
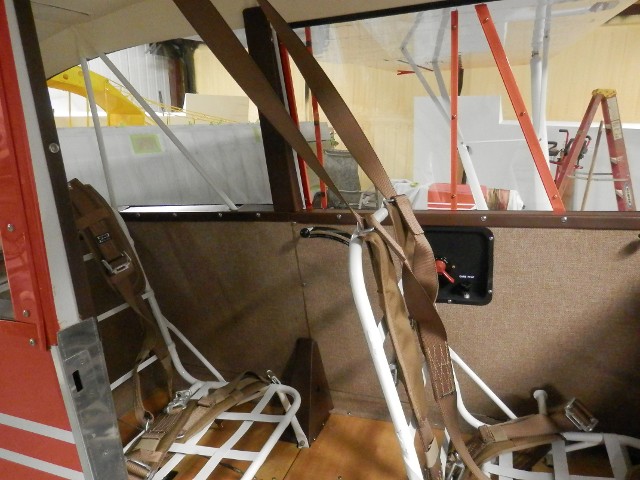
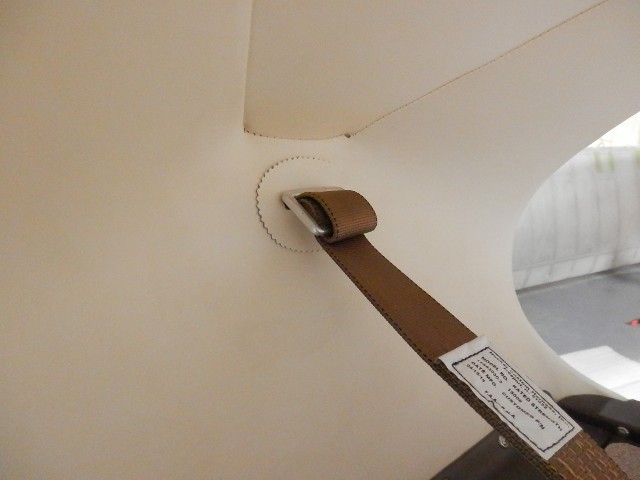
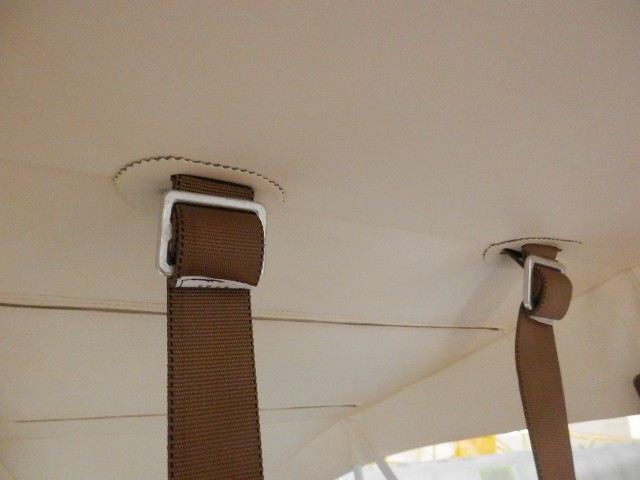
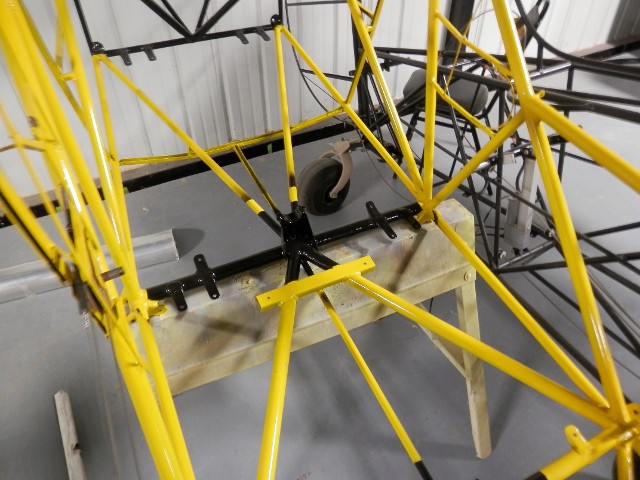
STC floor mount seat belt attach fittings from Atlee Dodge. |
|
|
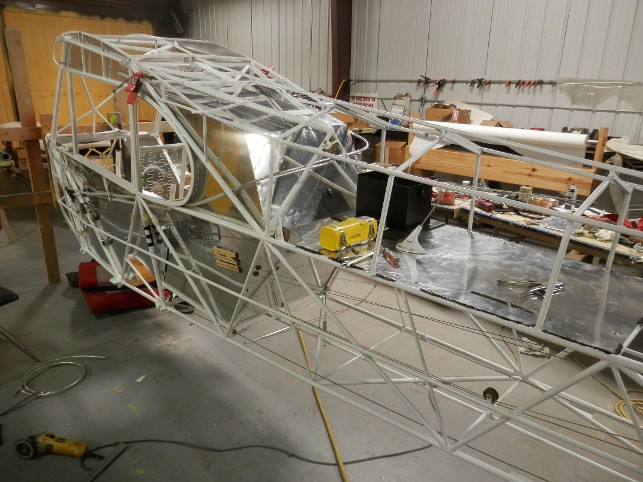
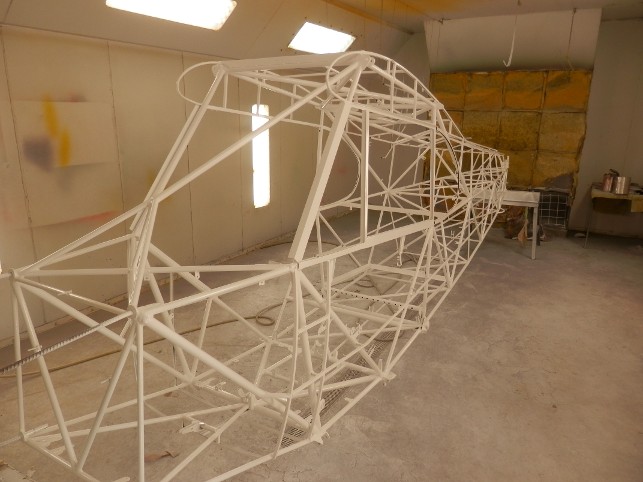
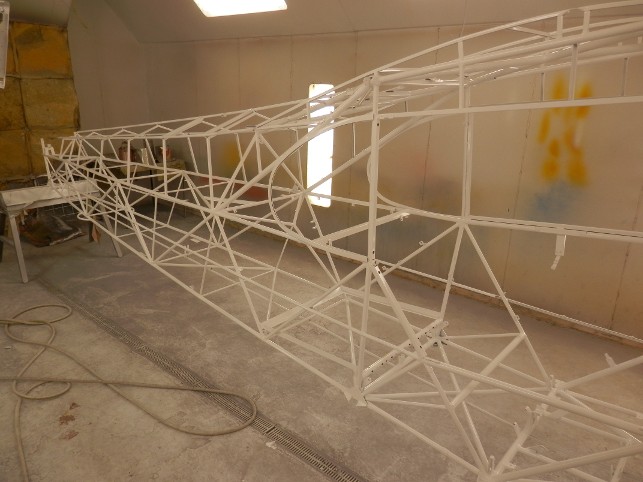
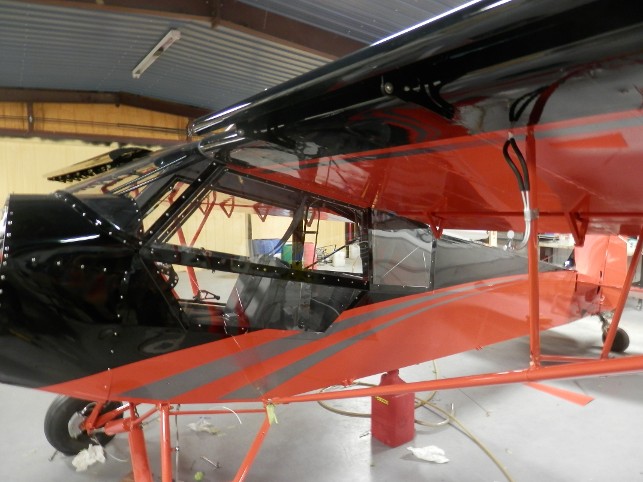
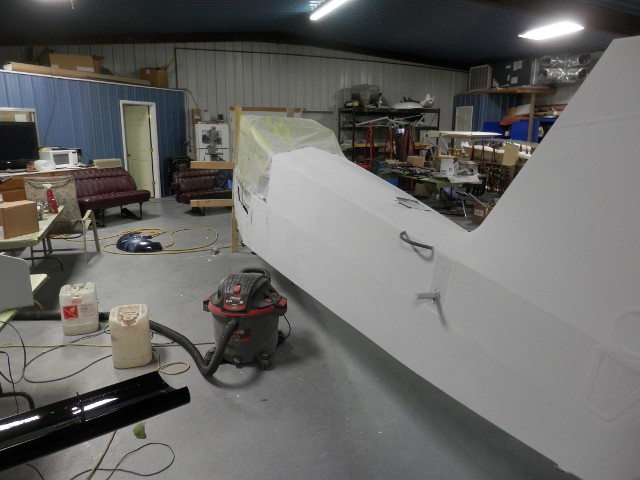
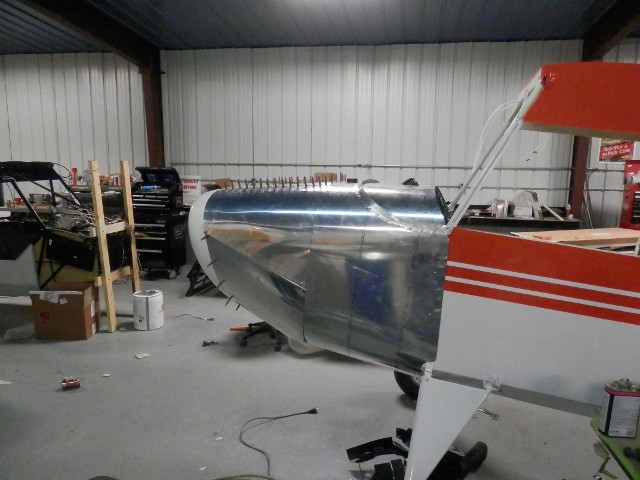
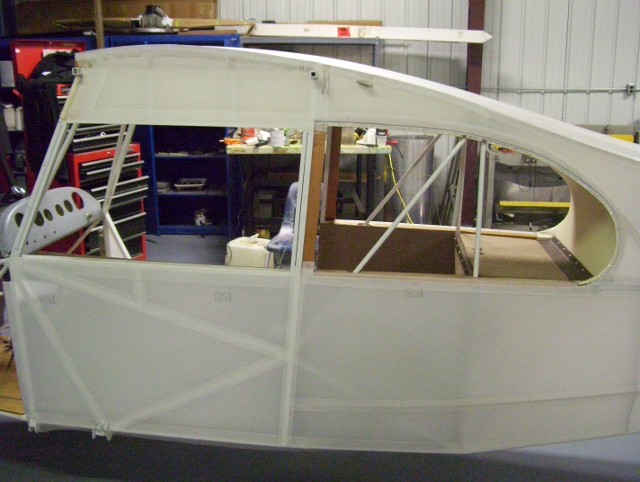
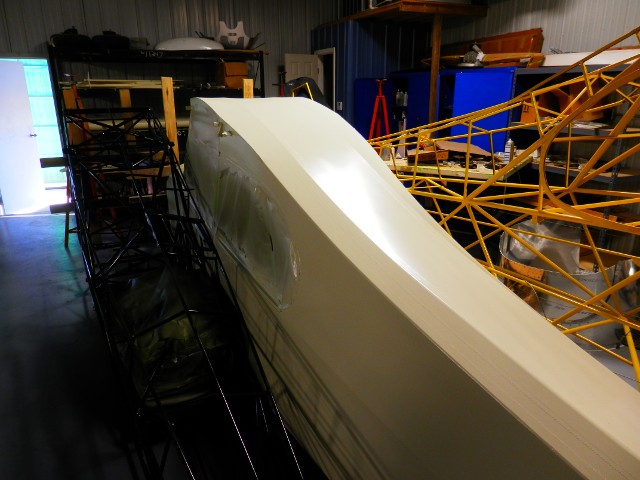
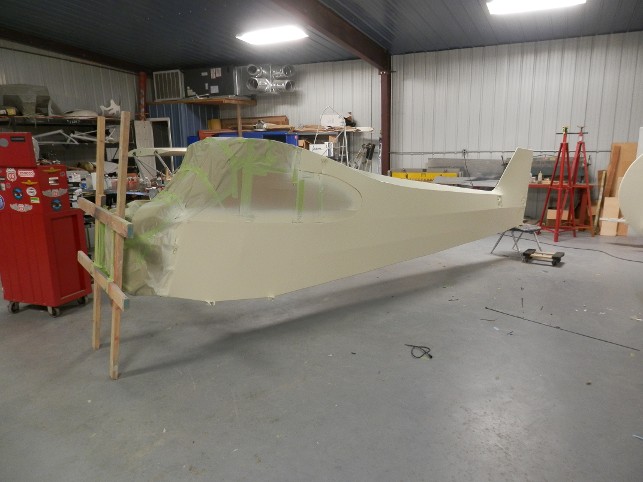
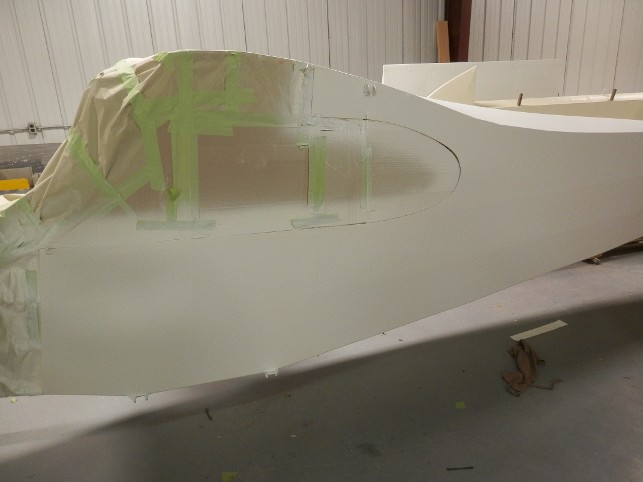
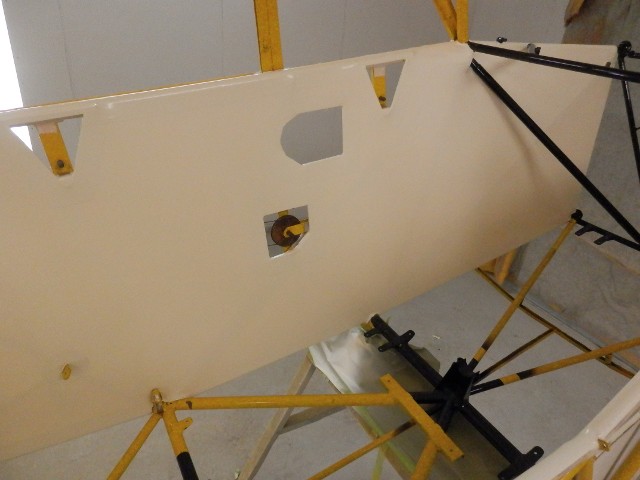
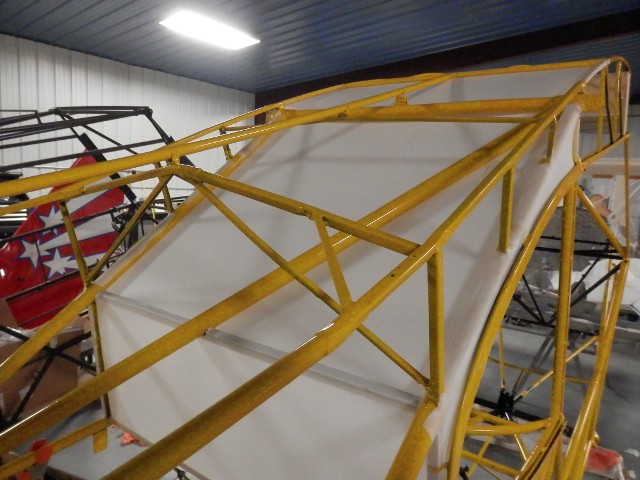
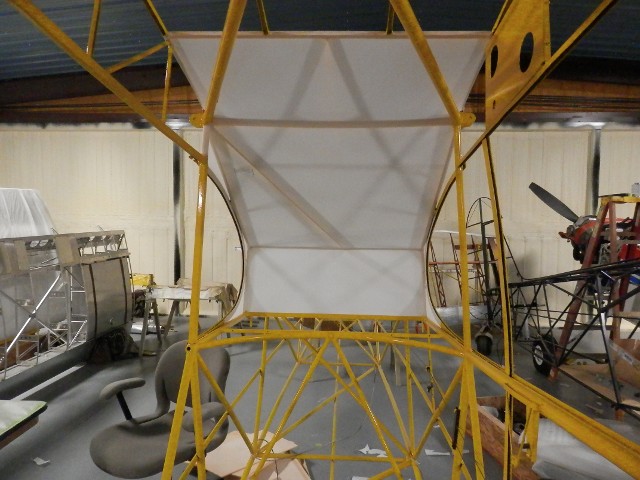
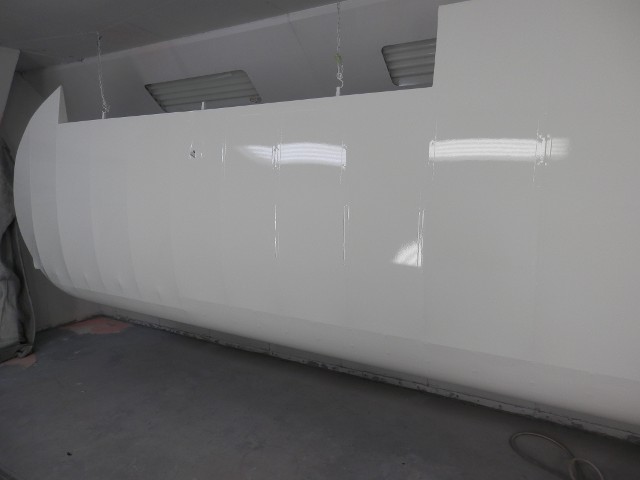
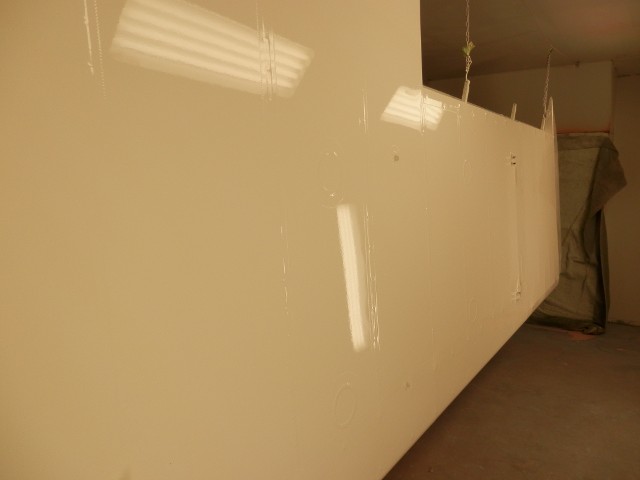
Mike chose white instead of the standard black for the fuselage. |
|
|
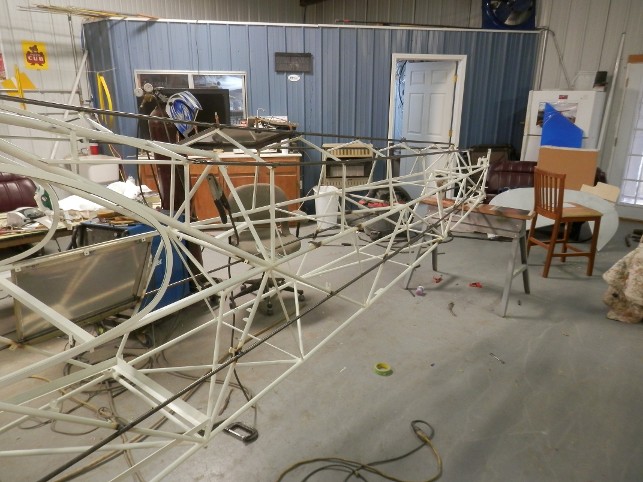
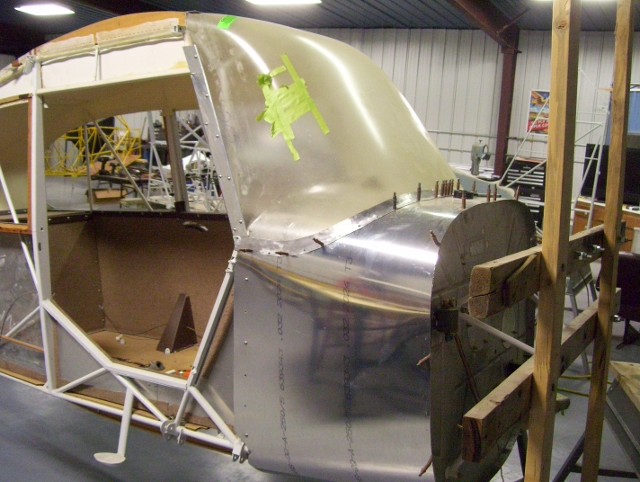
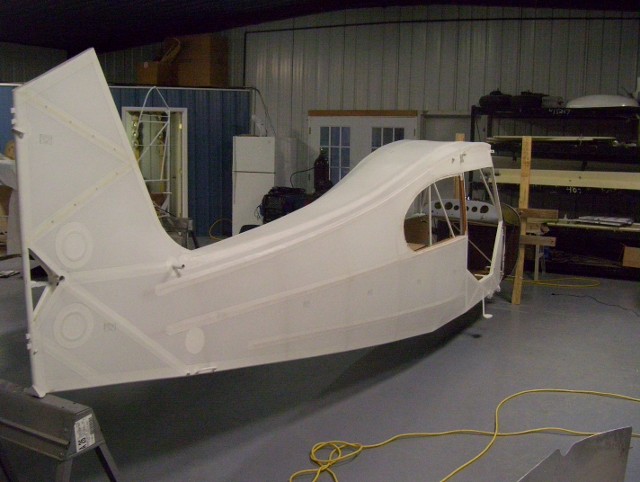
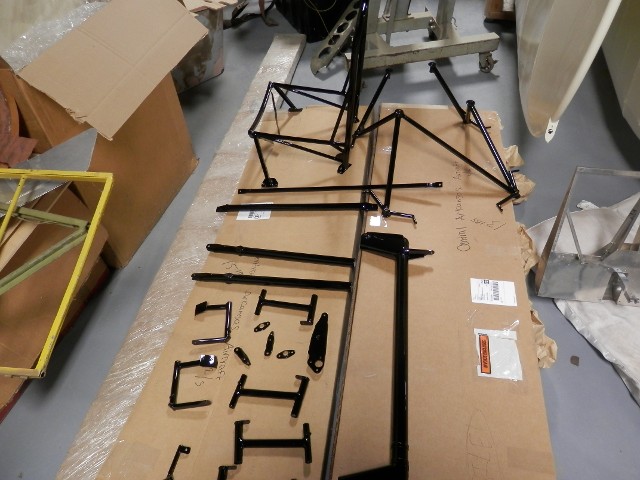
Ready to start bolting in parts, a lot of parts. |
|
|
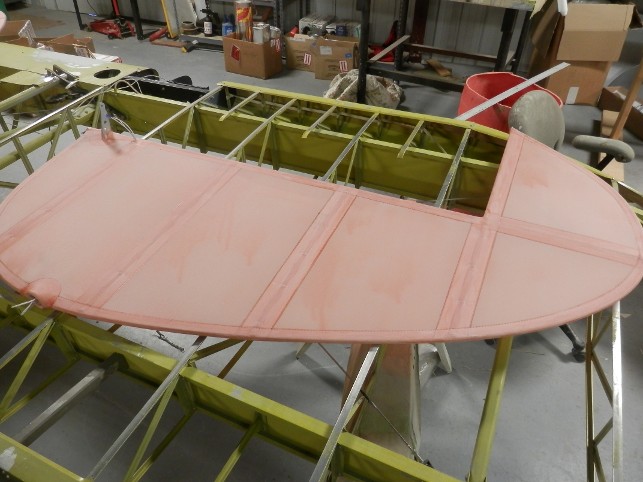
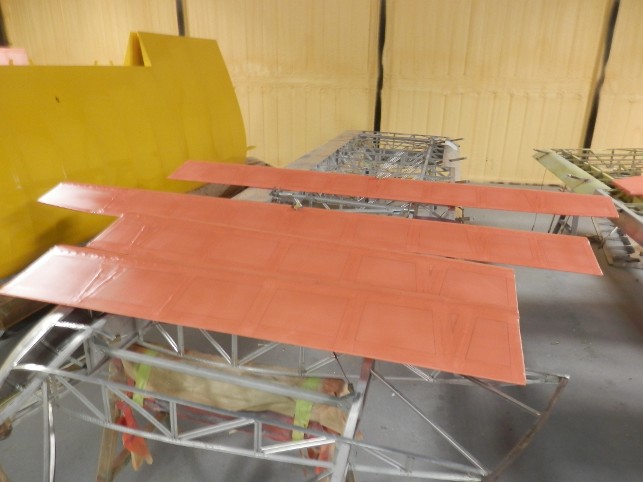
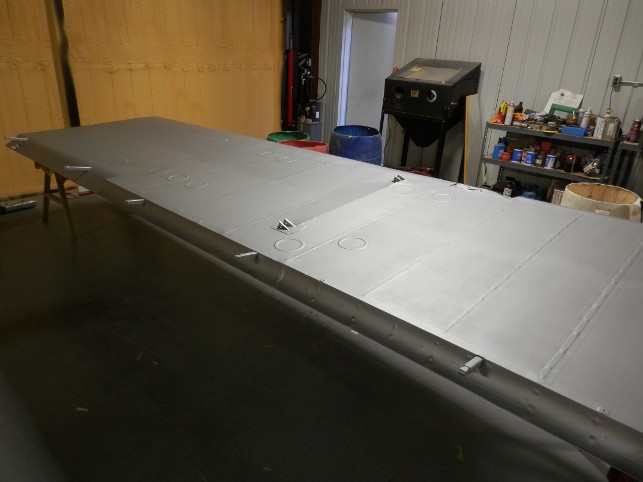
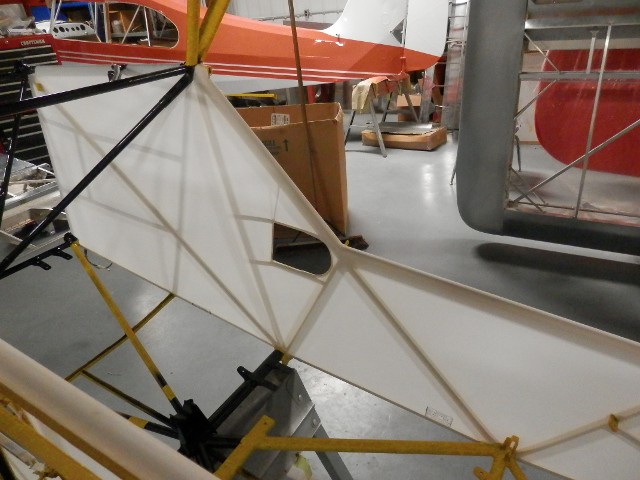
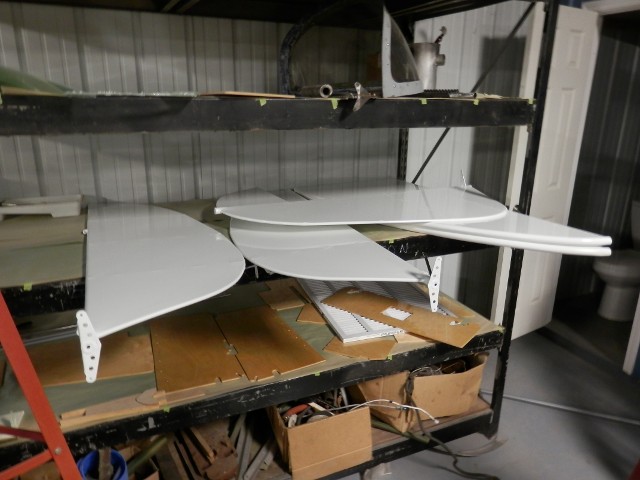
Tail feathers ailerons and flaps ready for primer. |
|
|
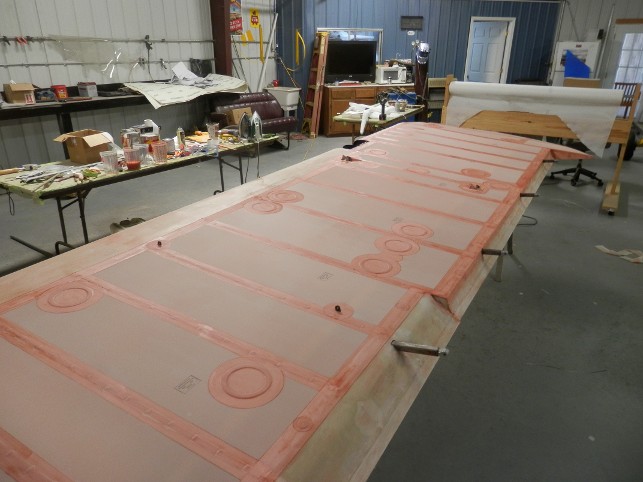
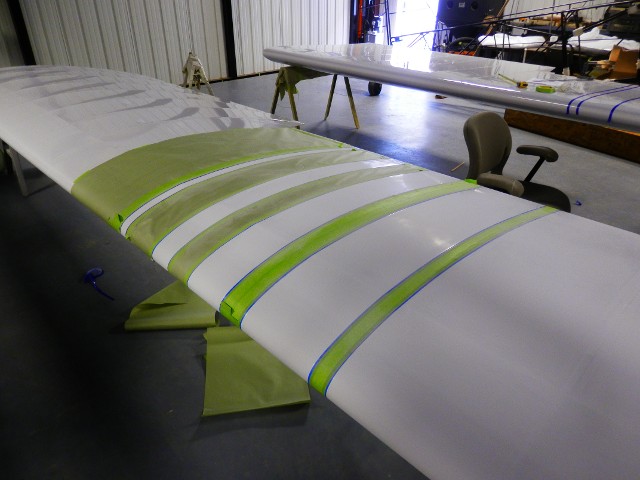
Ready to add pinked tapes and inspection rings. |
|
|
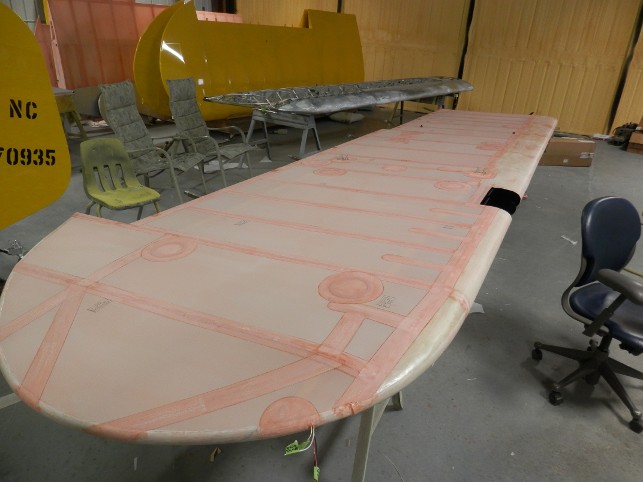
Add the bias tape around the tip then it's ready to iron and spray the Poly-Brush coats. |
|
|
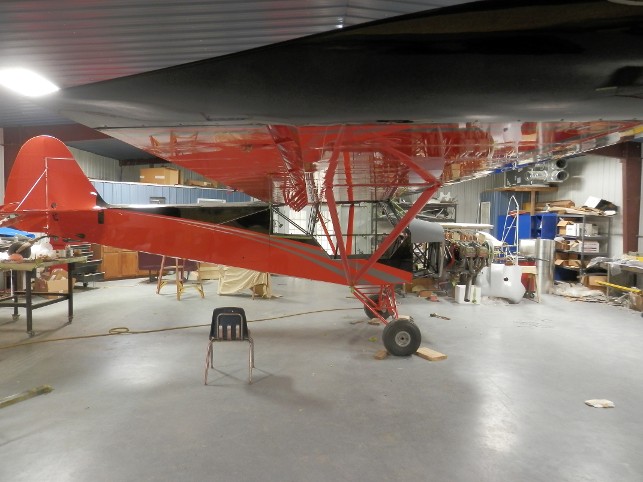
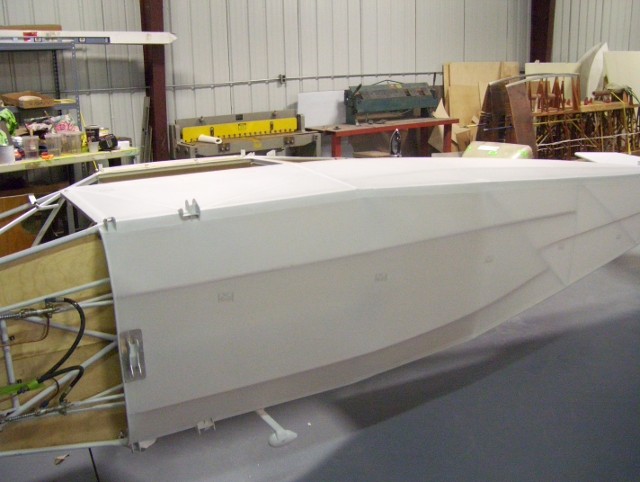
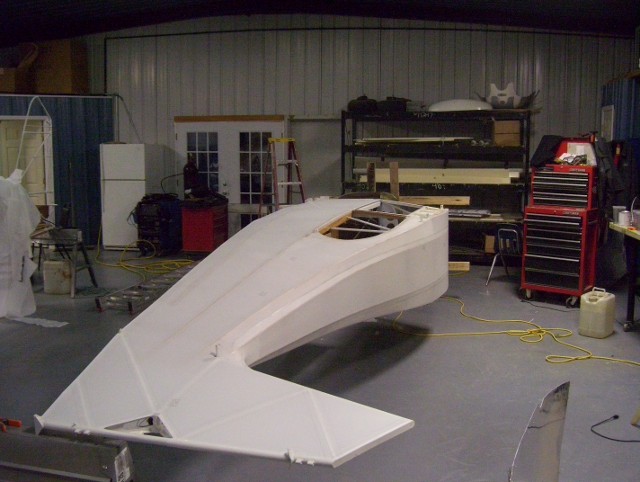
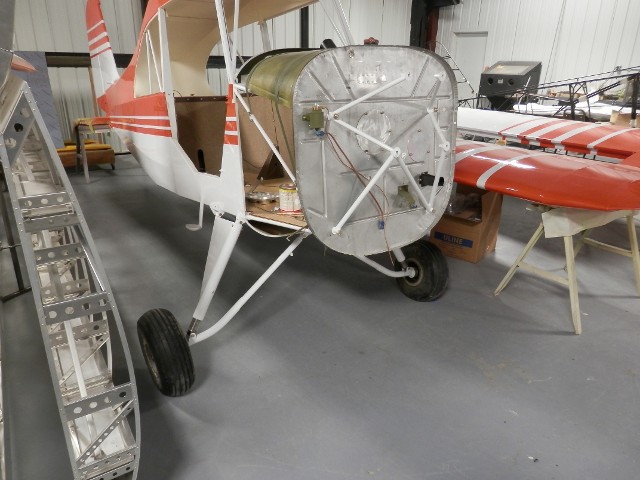
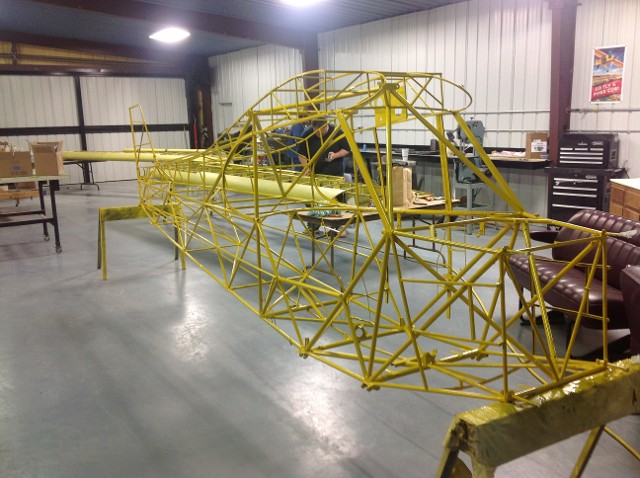
Now on to the fuselage, a new one from Univair. |
|
|
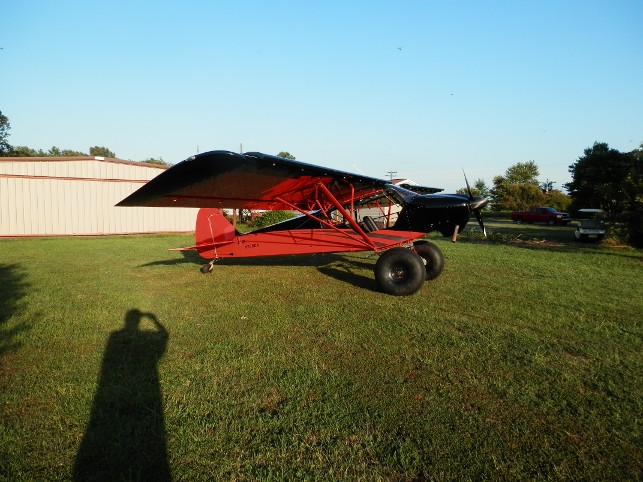
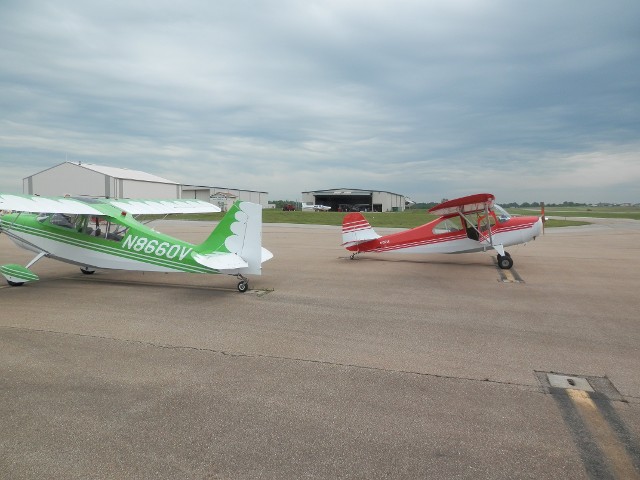
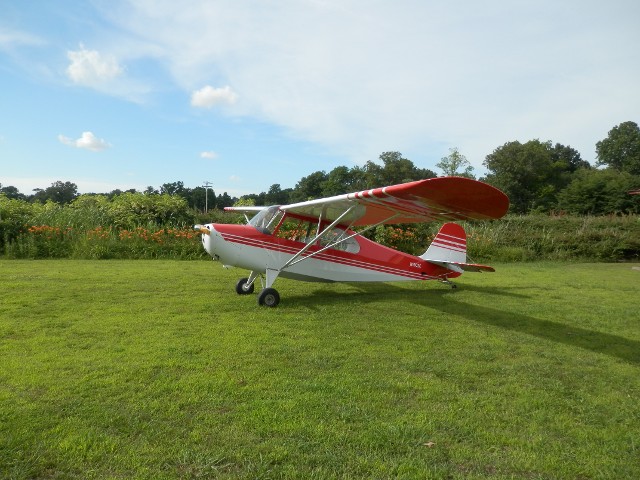
Finished, and ready for certification. |
|
|
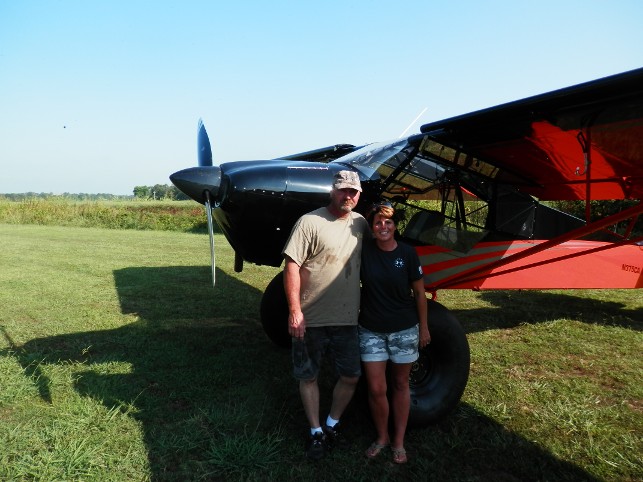
Another satisfied customer. |
|
|
This is an impressive aircraft to fly. |
|
|
Doing interior and trim work. |
|
|
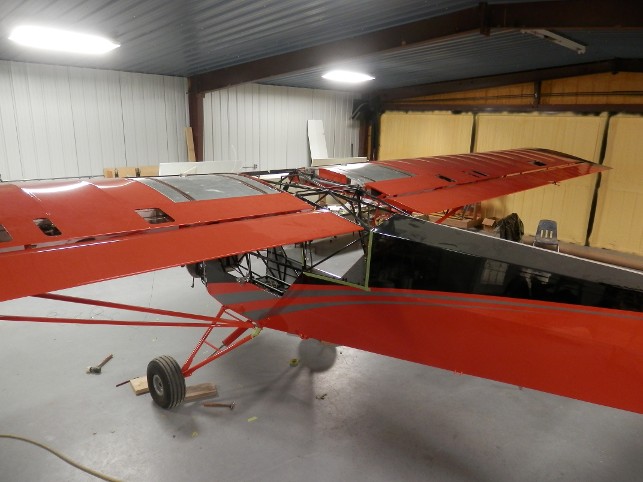
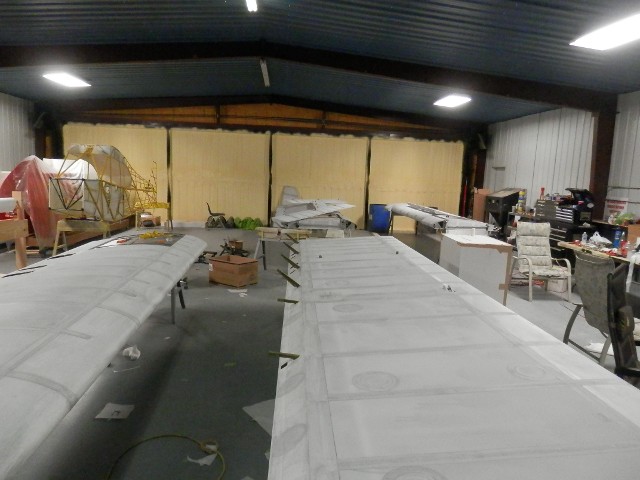
We are in the last stages of assembly. |
|
|
Can't put the big tires on yet, will not go out the door. |
|
|
We can see the light at the end of the tunnel finally. |
|
|
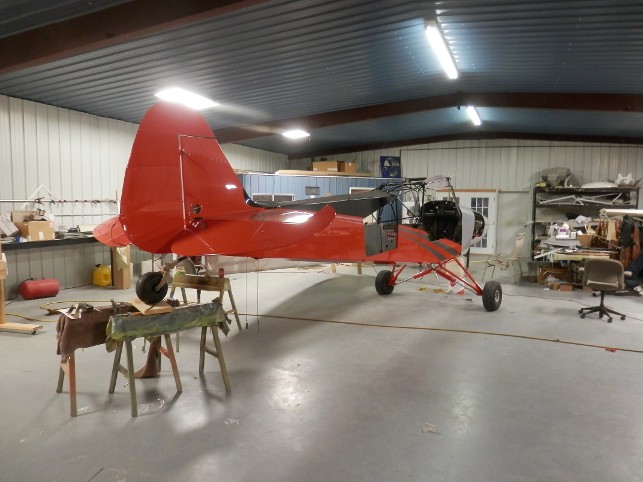
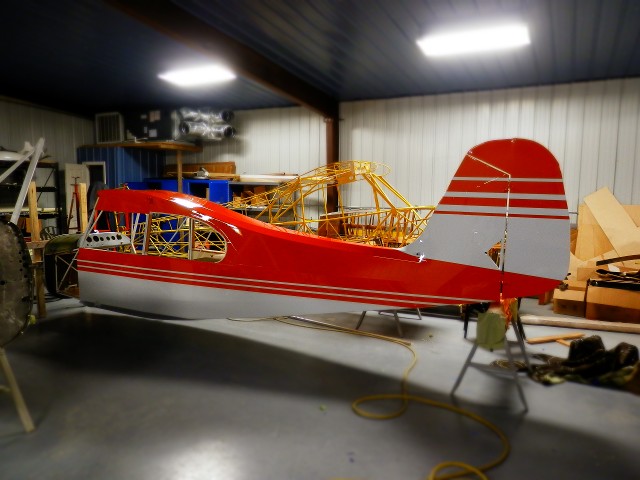
Tail is on, it is coming together at a pretty good pace. |
|
|
This scheme turned out really nice. |
|
|
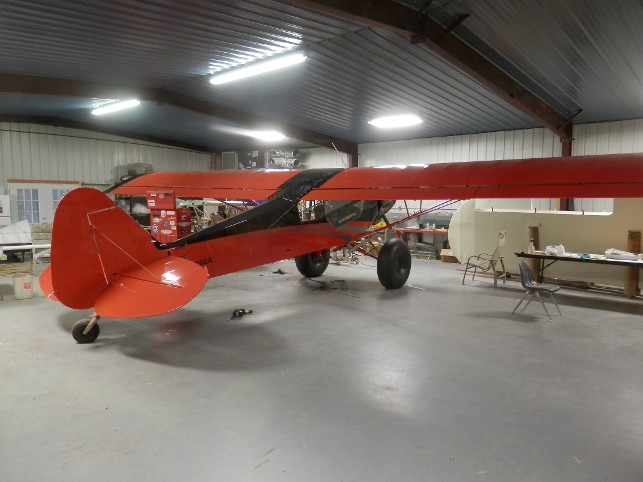
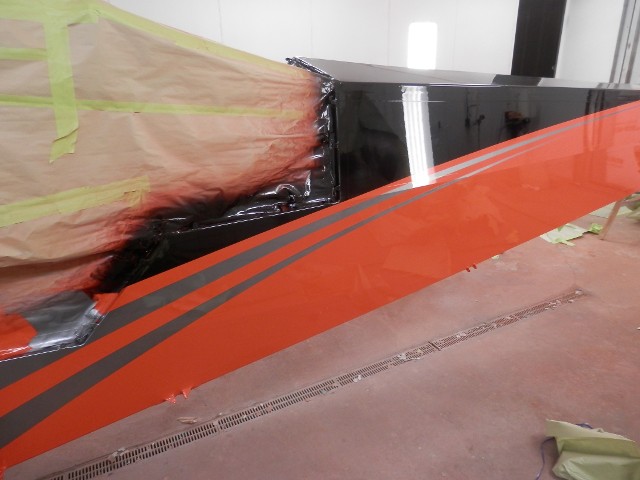
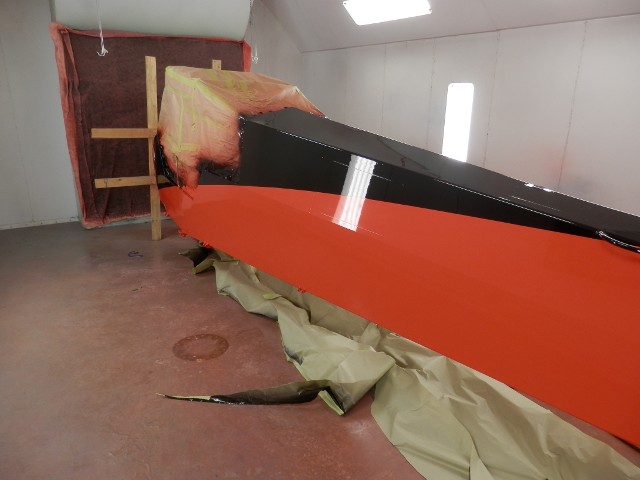
Black is on. Sliver is next. |
|
|
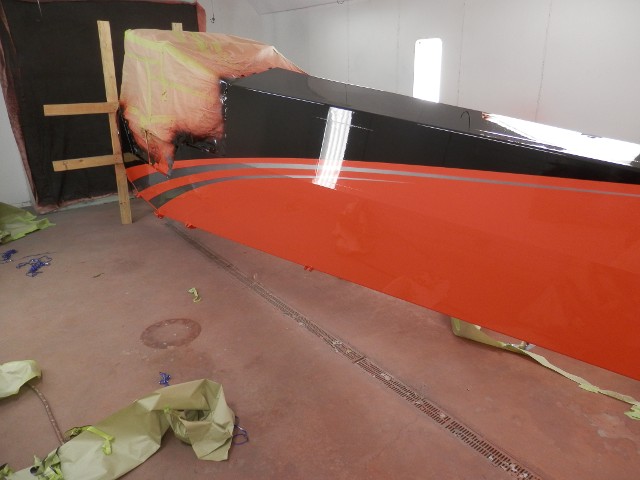
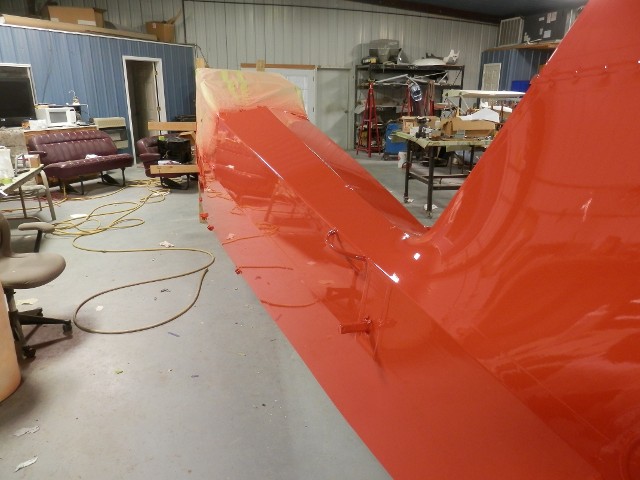
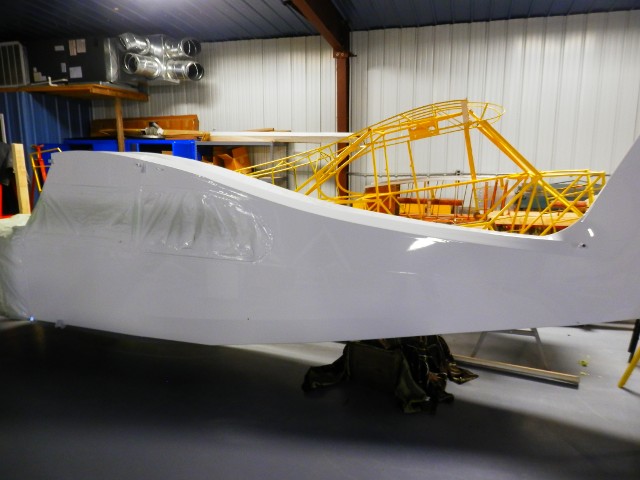
Fuselage is ready for the trim colors. |
|
|
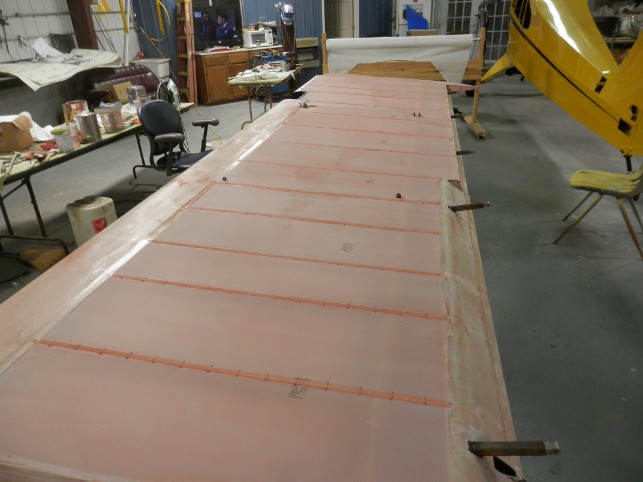
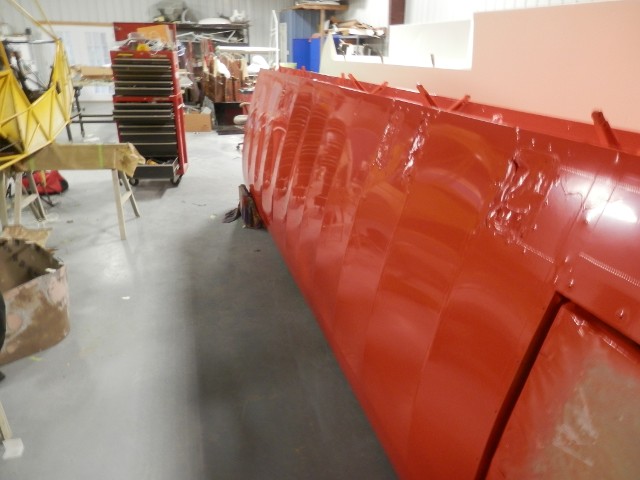
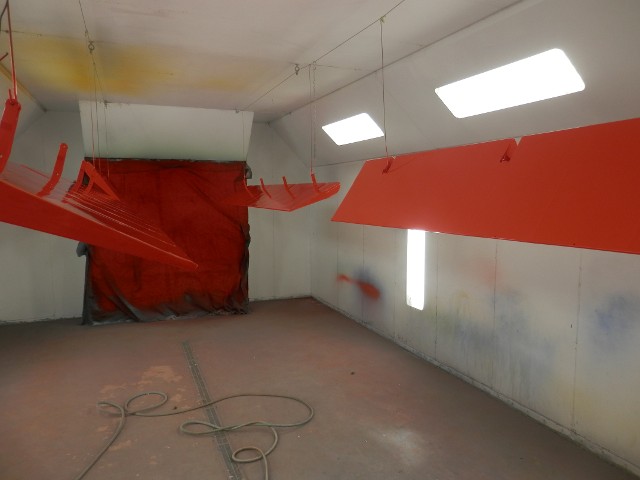
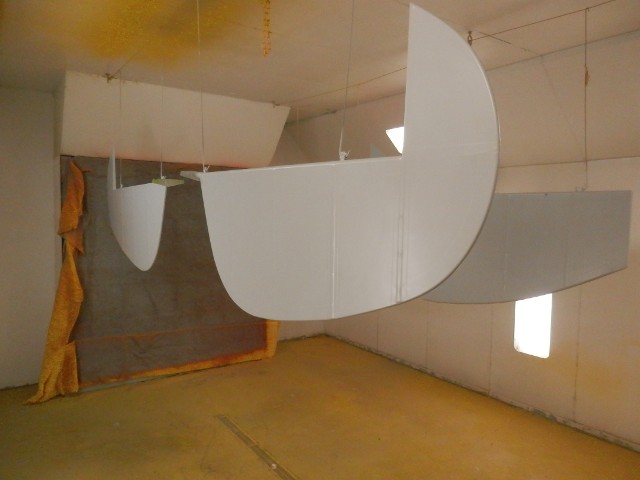
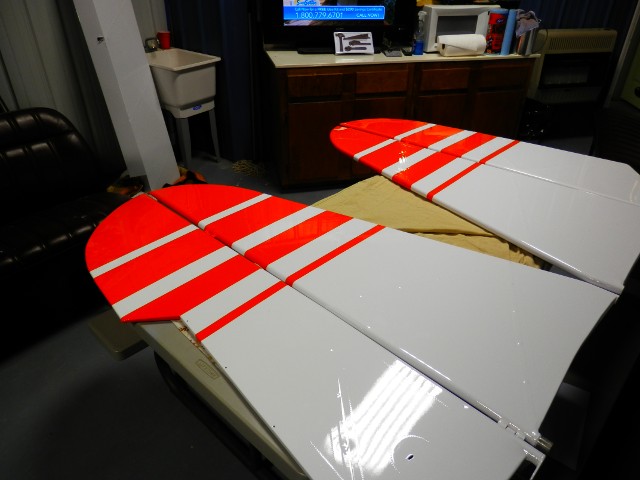
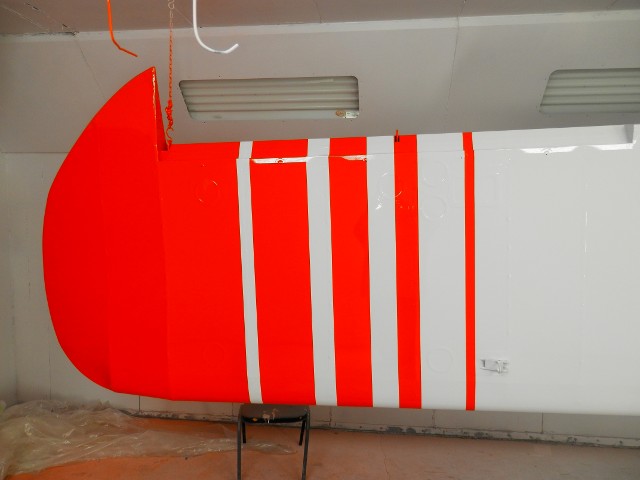
Wings have first coat of orange. This will be color sanded, and then thr final coat. |
|
|
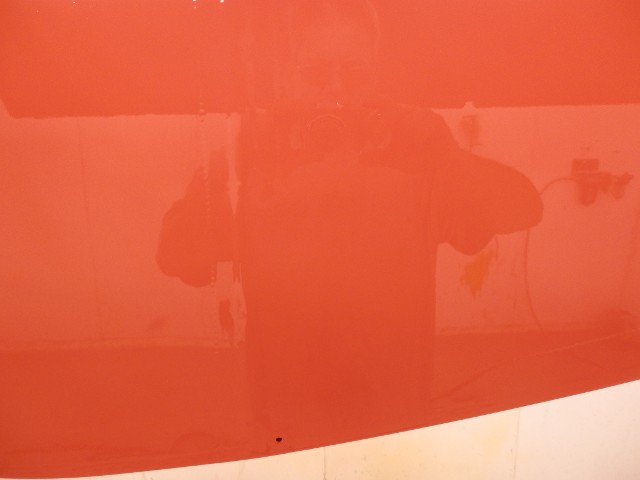
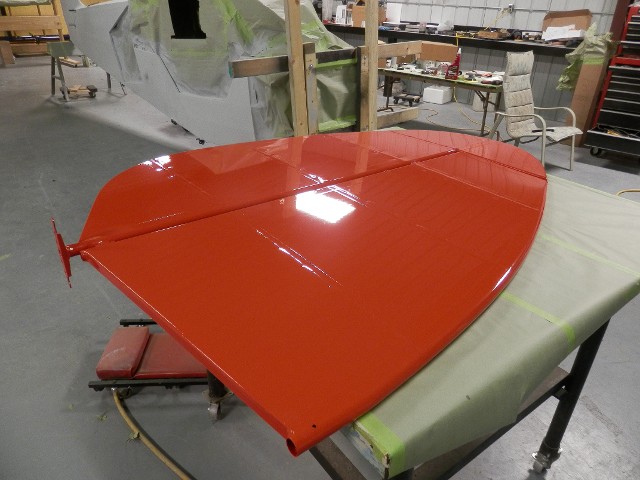
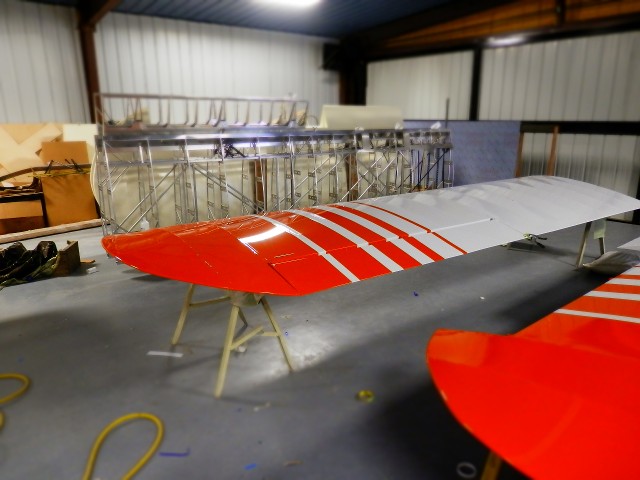
Final coat on tail feathers turned out very nice. |
|
|
First of the painted pieces. Orange, black, and silver will be the color scheme. |
|
|
Leading edge slats are painted. |
|
|
Ailerons and flaps are painted. |
|
|
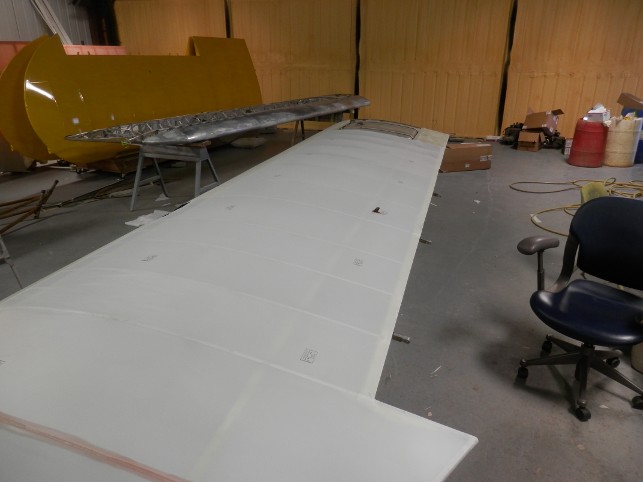
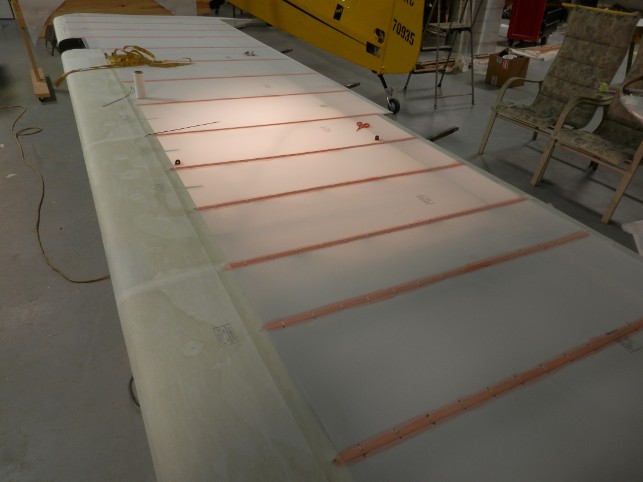
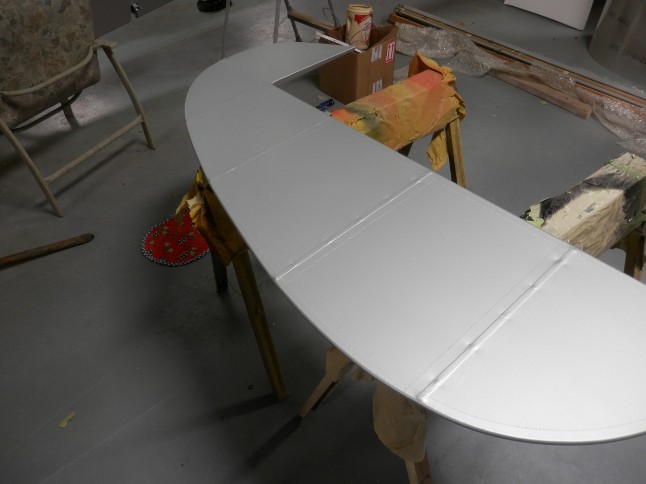
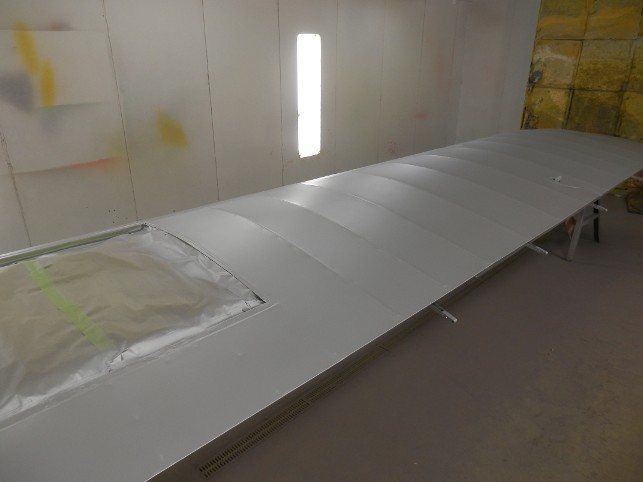
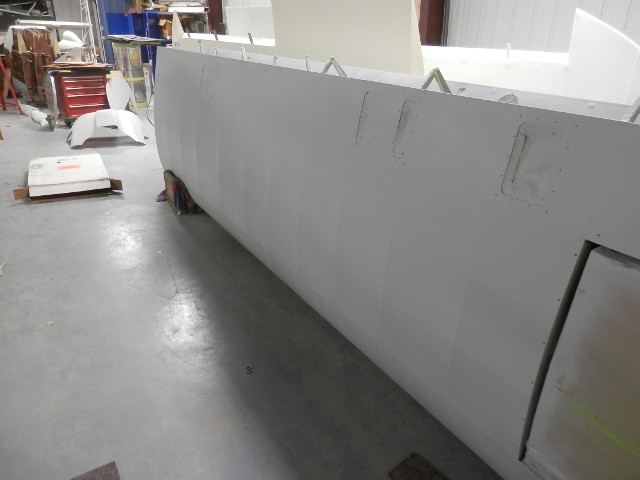
Wings are primed and curing. |
|
|
Iron out the tape edges and then on to primer. |
|
|
Still have 1 aileron and 2 flaps after these. |
|
|
On our way to deliver, had to wait on some weather to clear during the trip. |
|
|
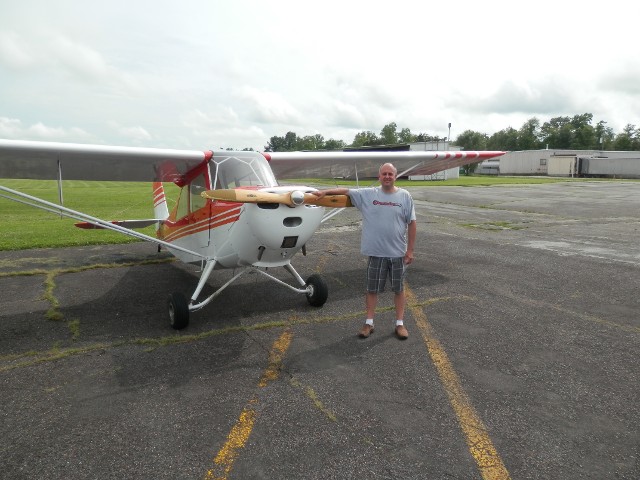
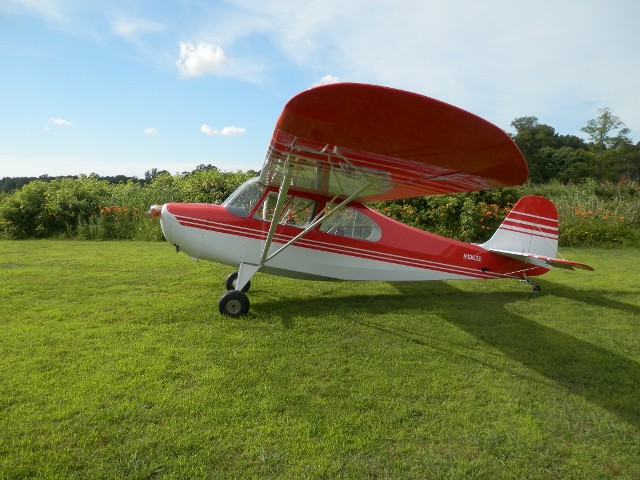
At home with its owner, Tony Vitiello, Festus Missouri. |
|
|
The Champ is finished, ready to deliver. |
|
|
Headed to its new owner, Tony Vitiello in Missouri. |
|
|
New seat cushions and stick boots from Airtex Interiors. |
|
|
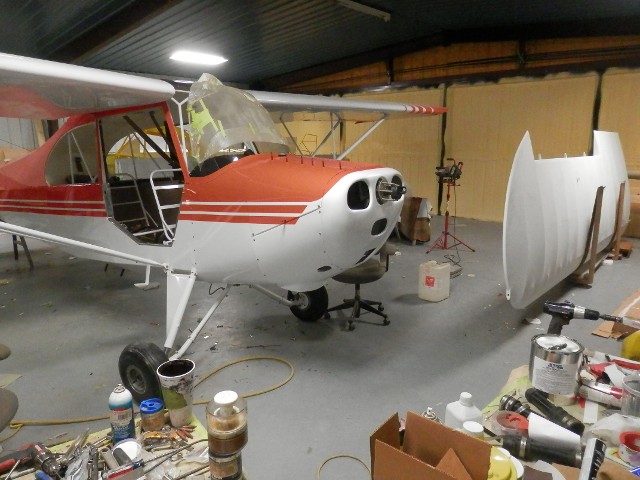
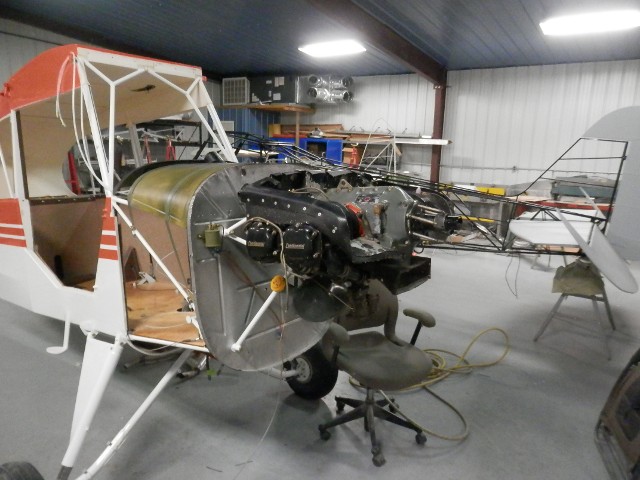
One of our projects is a 7-AC Champ, it's getting a very extensive complete ground-up restoration |
|
|
Stabs, elevators, and rudder installed. |
|
|
Waitng on the seat cushions from Airtex Interiors. |
|
|
Hooker Harness installation for rear seat. |
|
|
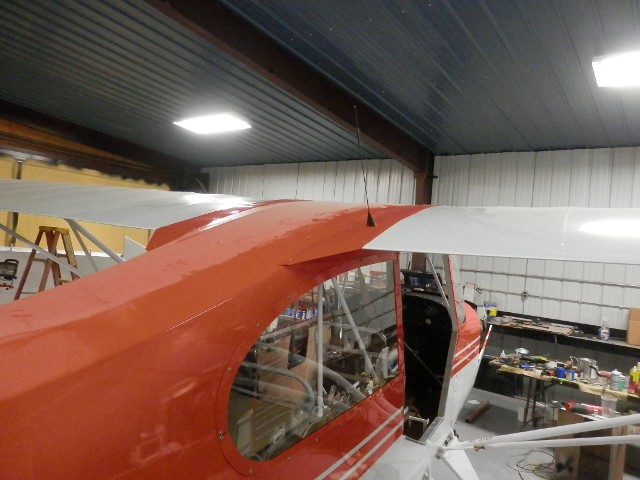
Windshield installed, fitting cowling. |
|
|
New nosebowl and cowling being fitted. |
|
|
Fabricating new wrap-around boot cowl |
|
|
Fitting windshield trim and new windshield |
|
|
Starting covering of fuselage |
|
|
Almost ready to start taping |
|
|
Pinked tapes on, inspection rings on, ready for final edge sealing |
|
|
Ready to mask and prime, the wings can be seen in the background, they are covered and primed |
|
|
Tail feathers and ailerons shot with base color, trim will be orange. |
|
|
Stabilizers and elevators finished. |
|
|
Finished product with aileron installed. |
|
|
It needs N-numbers to dress up the side of the fuselage. |
|
|
Boot cowl and engine mount are on for good, engine is next. |
|
|
Fitting the dash and windshield. |
|
|
New Univair boot cowl with stainless firewall. |
|
|
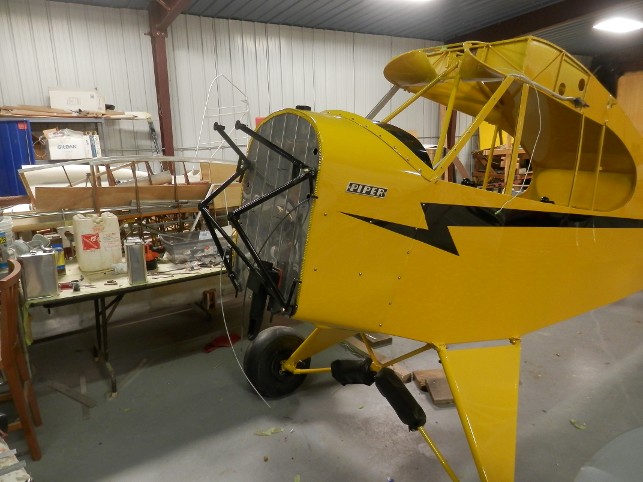
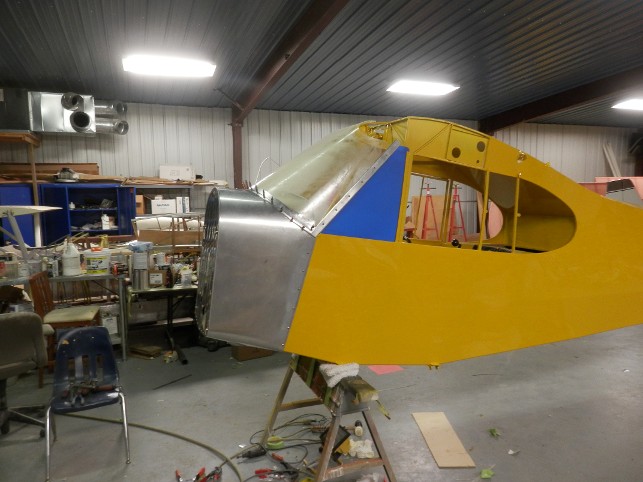
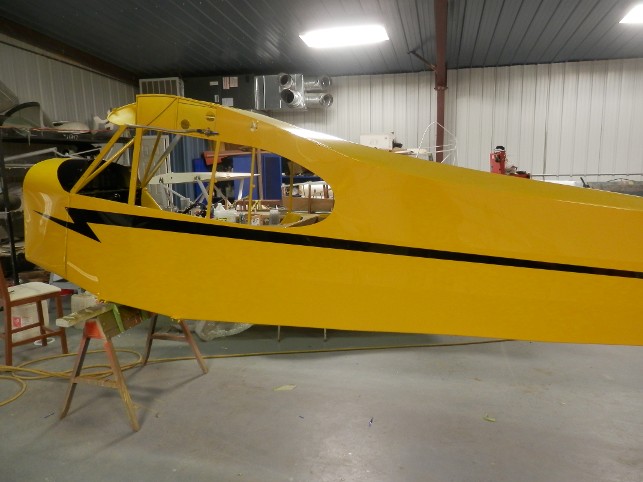
Boot cowl painted and the classic lightning bolt is on. |
|
|
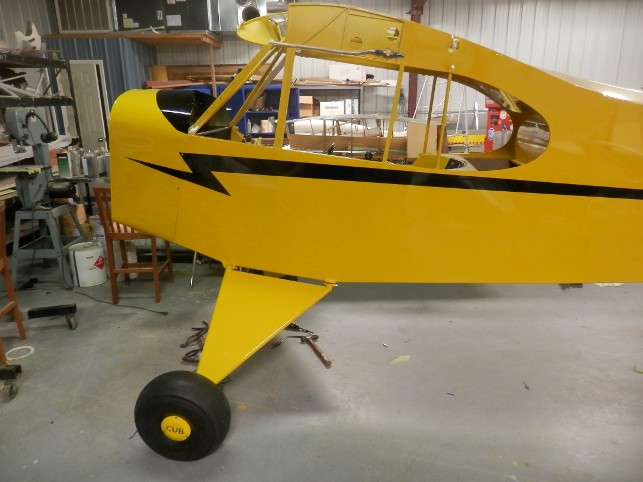
One step closer to completion. |
|
|
Final coats of paint on the wings, next are the 24 inch n-numbers. |
|
|
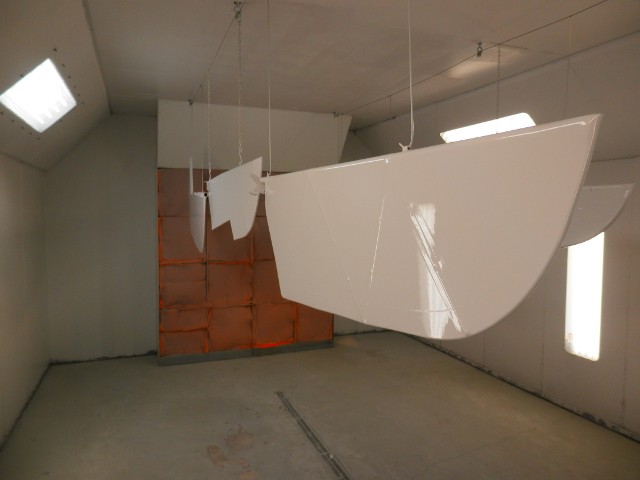
Primer is on, base white is next. |
|
|
White is on, and sanded. Waiting on cooler weather for the yellow. 105 degrees is not good painting weather. |
|
|
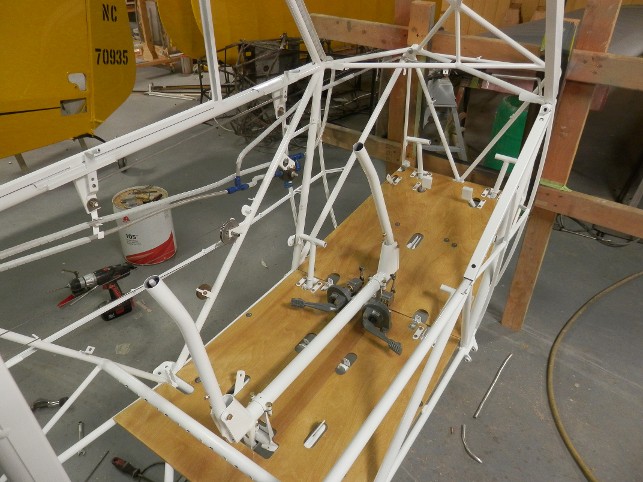
Installing the seats and controls. |
|
|
Starting to look like an airplane. |
|
|
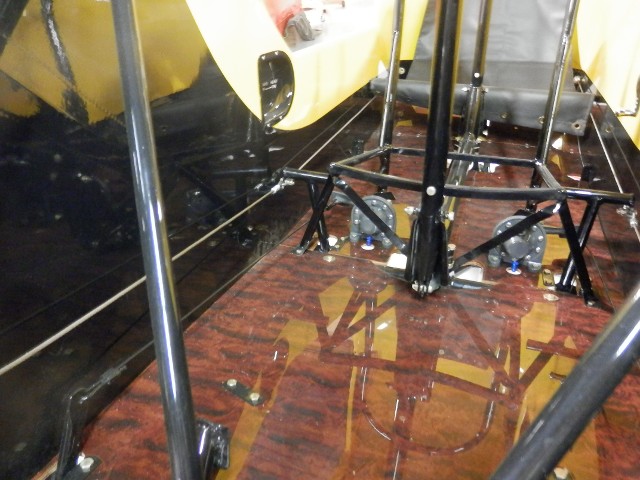
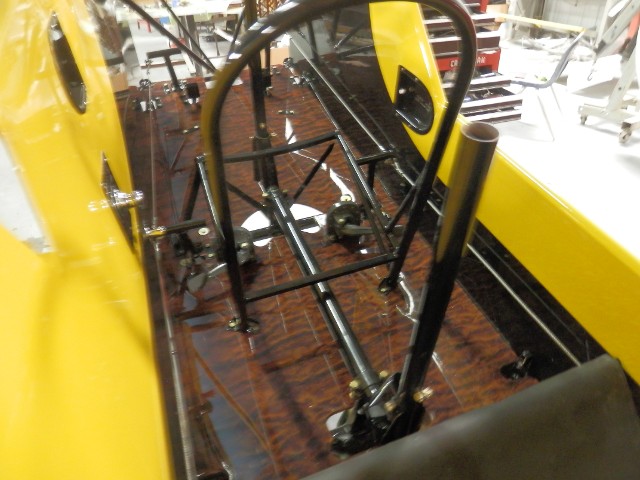
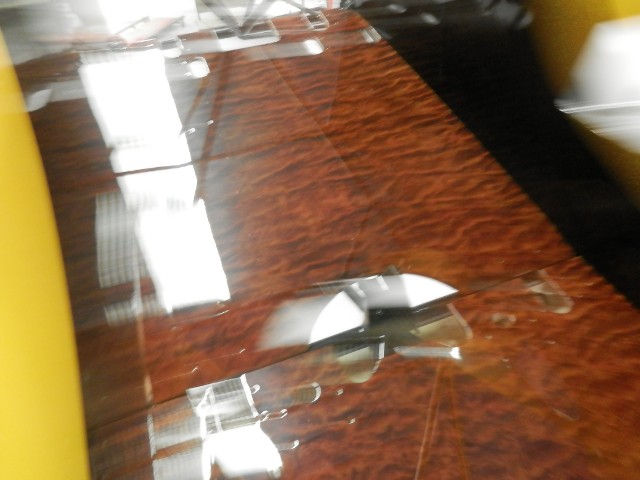
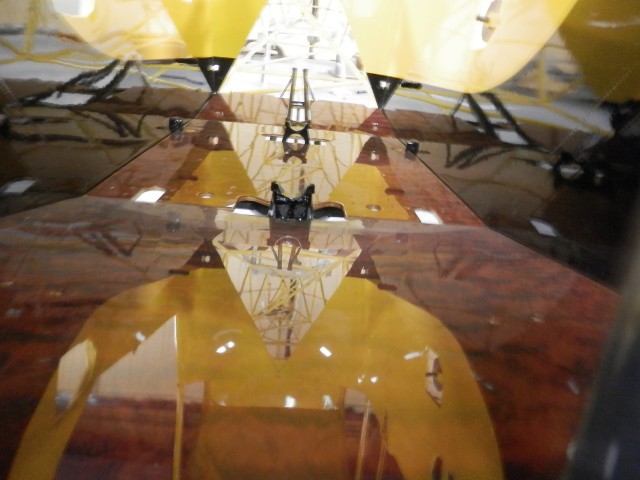
Floorboards are done, 22 coats of clear to make them look like this. |
|
|
The shine is 1.25 miles deep. |
|
|
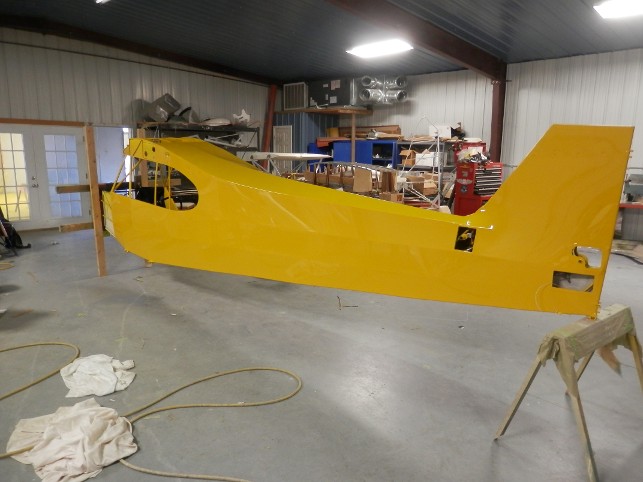
Final coat of yellow done, and the black. |
|
|
As soon as the floorboards are cleared, the control system will be installed. |
|
|
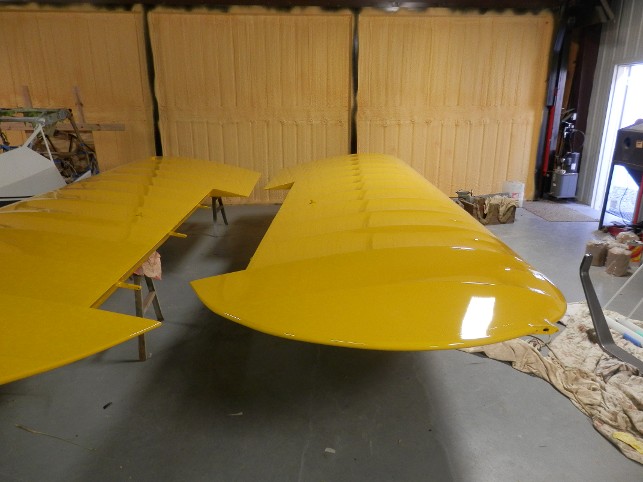
First two coats of yellow. |
|
|
One more sanding, then the topcoat. |
|
|
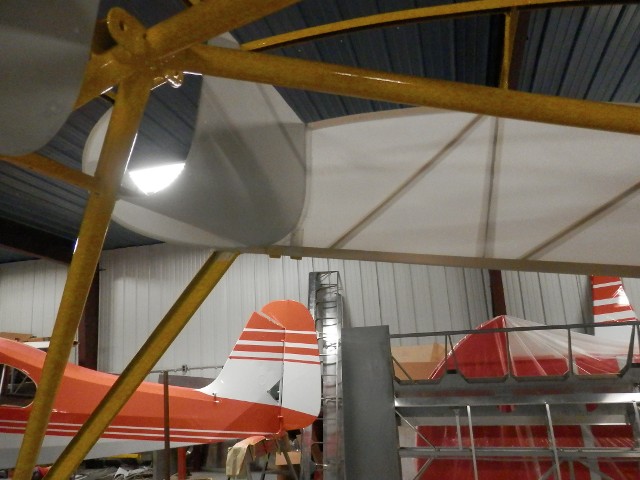
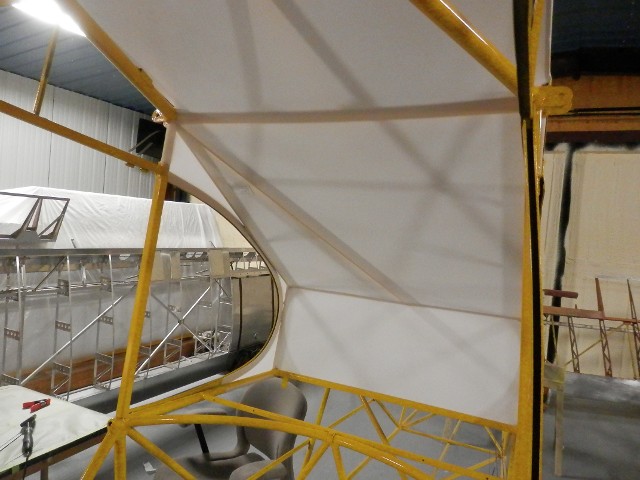
Wing roots and eyebrows done. |
|
|
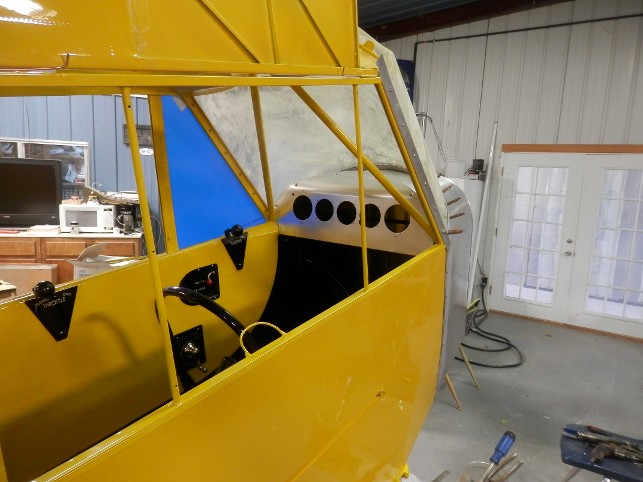
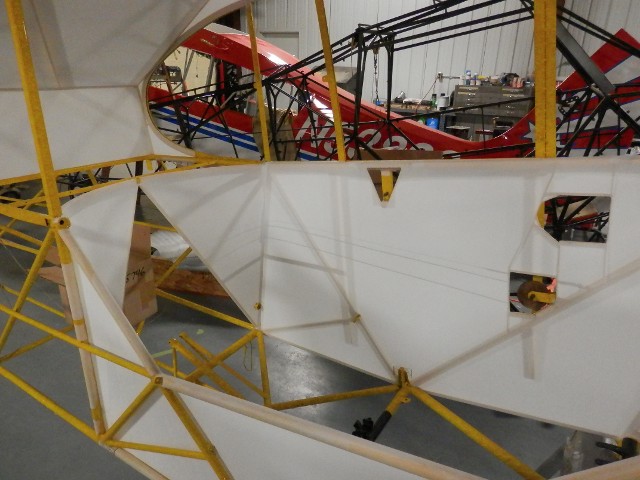
Left side panel. Baggage compartment has to be in before the last 2 pieces above the seat round are installed. |
|
|
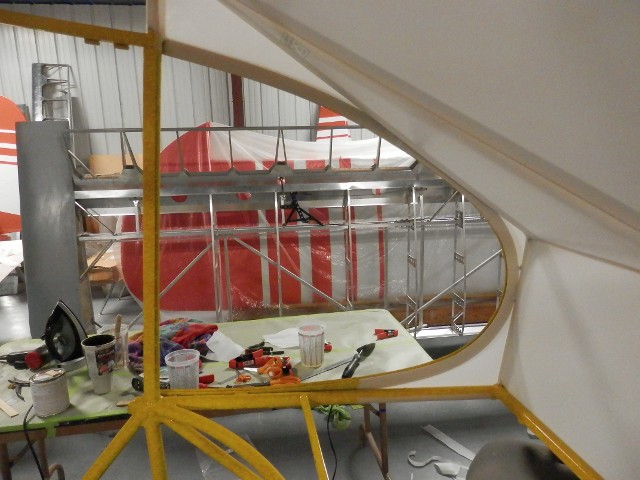
Root to eyebrow transition. Done little different than normal so it doesn't pull away in the corner. Don't bother asking, trade secret. |
|
|
Starting the interior on Terry's cub. |
|
|
Terry had purchased a pre-sewn envelope for the interior. I didn't like the way it fit, so I'm going old school. |
|
|
Installing a J-3 interior is not a fast process. |
|
|
The time is worth it though. I have seen many J-3 interiors done wrong or just plain bad. |
|
|
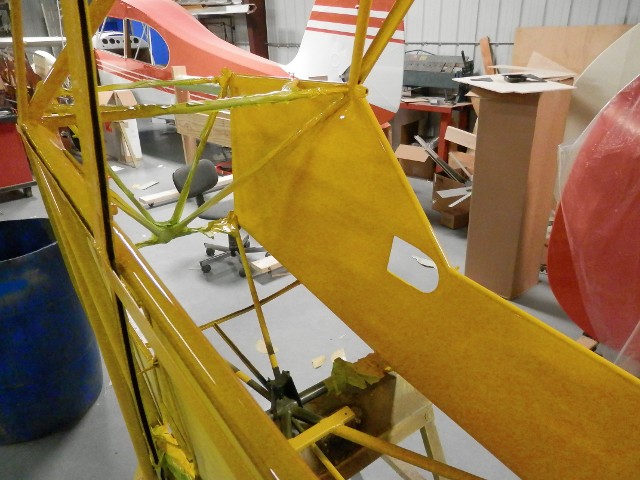
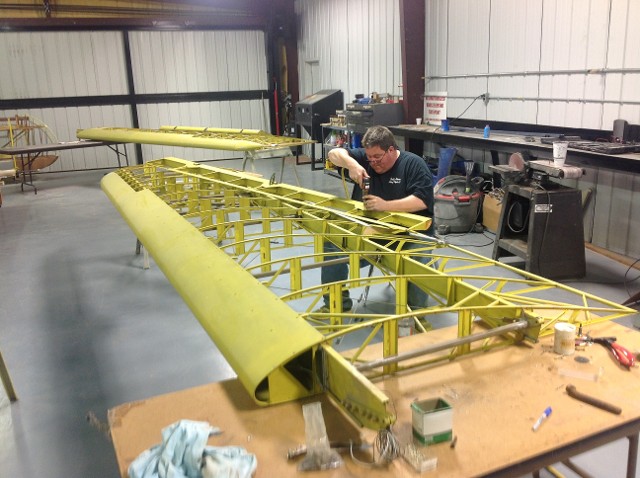
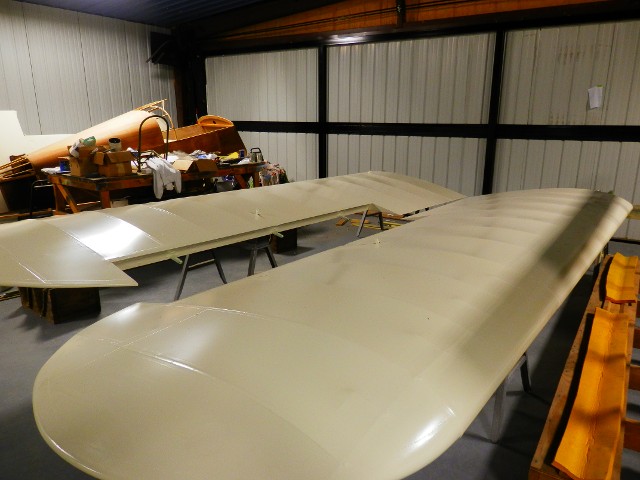
Terry's J-3 wing in base white. |
|
|
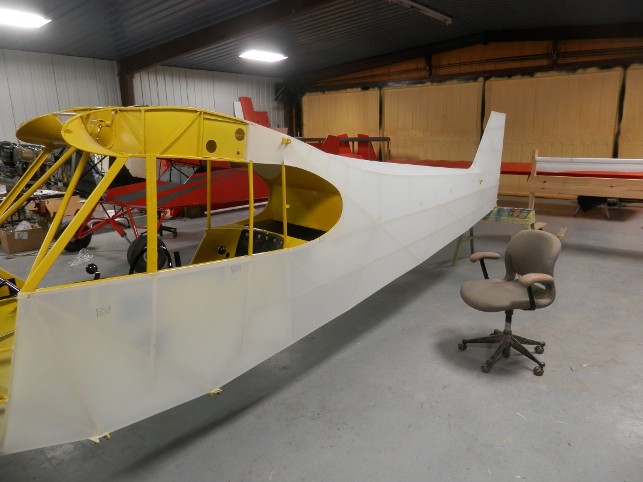
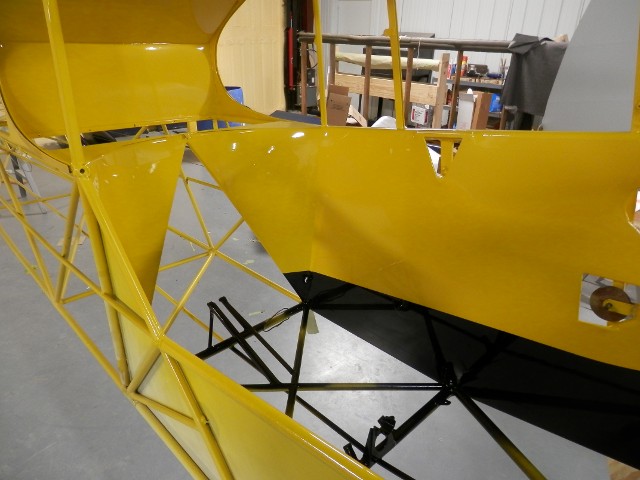
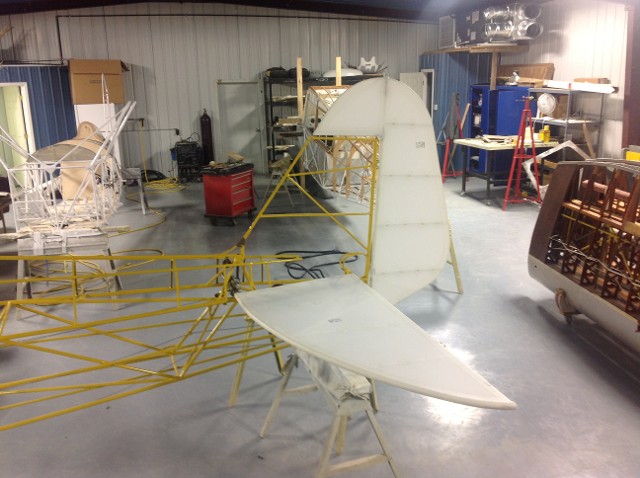
Fuselage is now ready for fabric. |
|
|
J-3 parts freshly painted. |
|
|
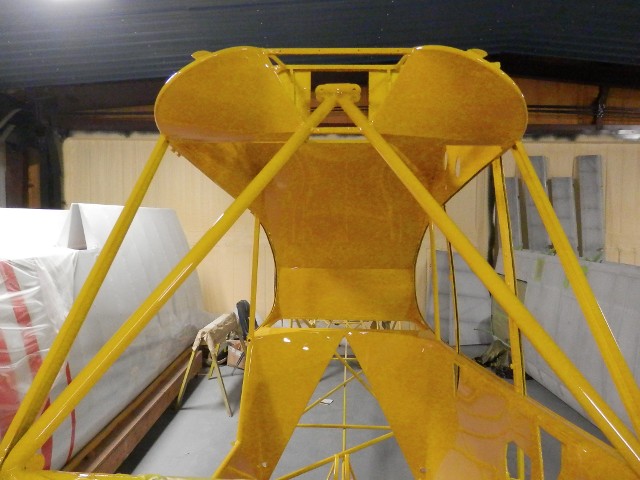
Tail group in base white. The only way to make the yellow match is to first paint everything white. |
|
|
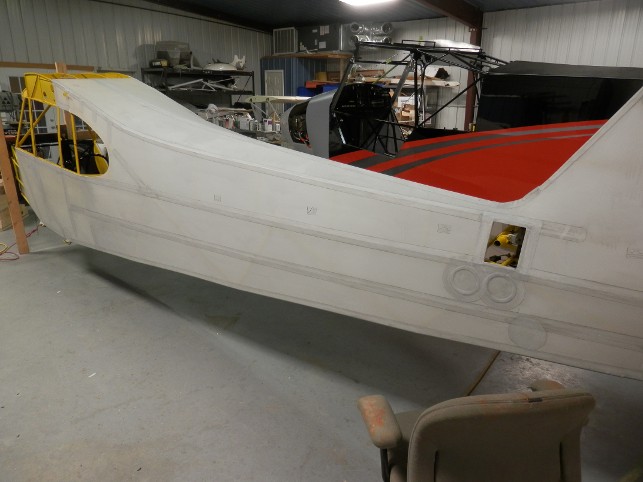
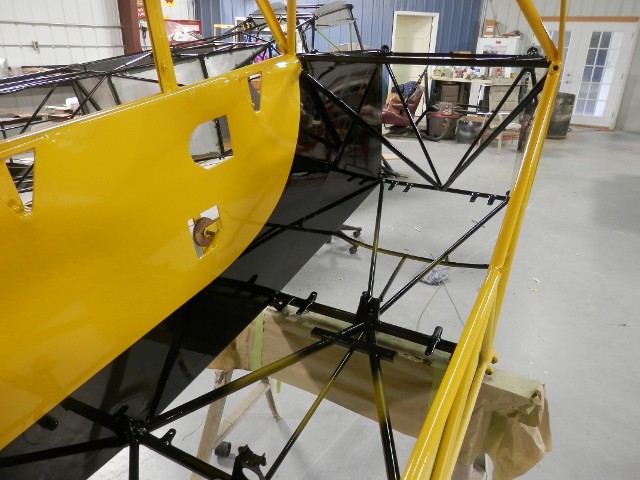
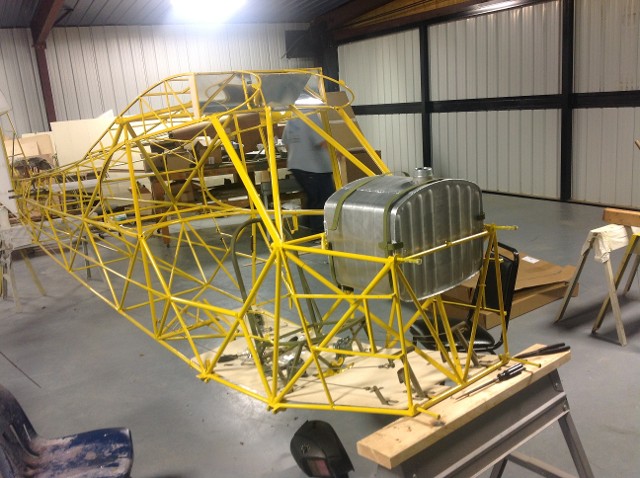
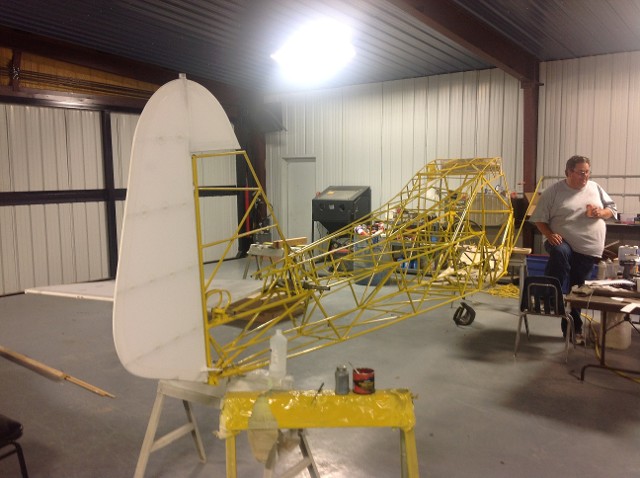
J-3 undergoing restoration. Fuselage freshly painted after repairs. |
|
|
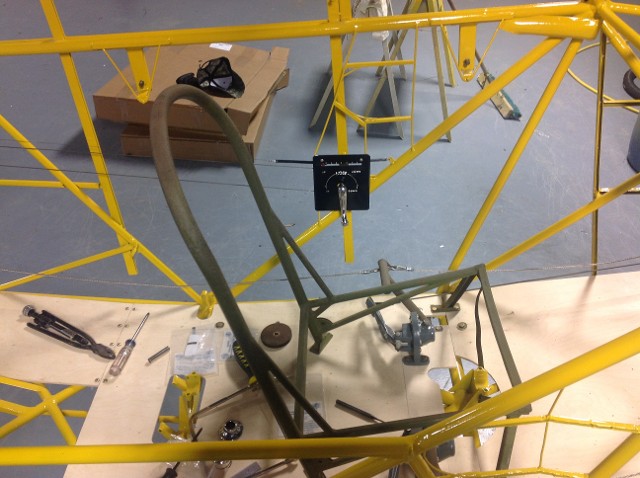
Fitting floorboards, fuel tank, seat, rudder and brake pedals. |
|
|
Trim cable fitting and adjustment. |
|
|
Fitting aileron before covering. Making sure all the gaps are right. |
|
|
Installing jackscrew, checking fit of new cables. |
|
|
Taking a break, discussing how Robbie will get a beatdown if he doesn't leave me alone..... |
|
|
Wings are primed. Next they will get a coat of white, then final coats of yellow. |
|
|